Adding New Product Documentation
Learn how to create documentation in Apiboost!
About API Products
Apiboost encapsulates your APIs into nodes, creating user documentation with configurable security settings. API Products are the core and why you’re using Apiboost. This section about content assumes you already have your portal connected to a provider. If not, be sure to configure your portal before proceeding. If you need further assistance connecting your portal to a provider, please contact support.
Adding New API Products
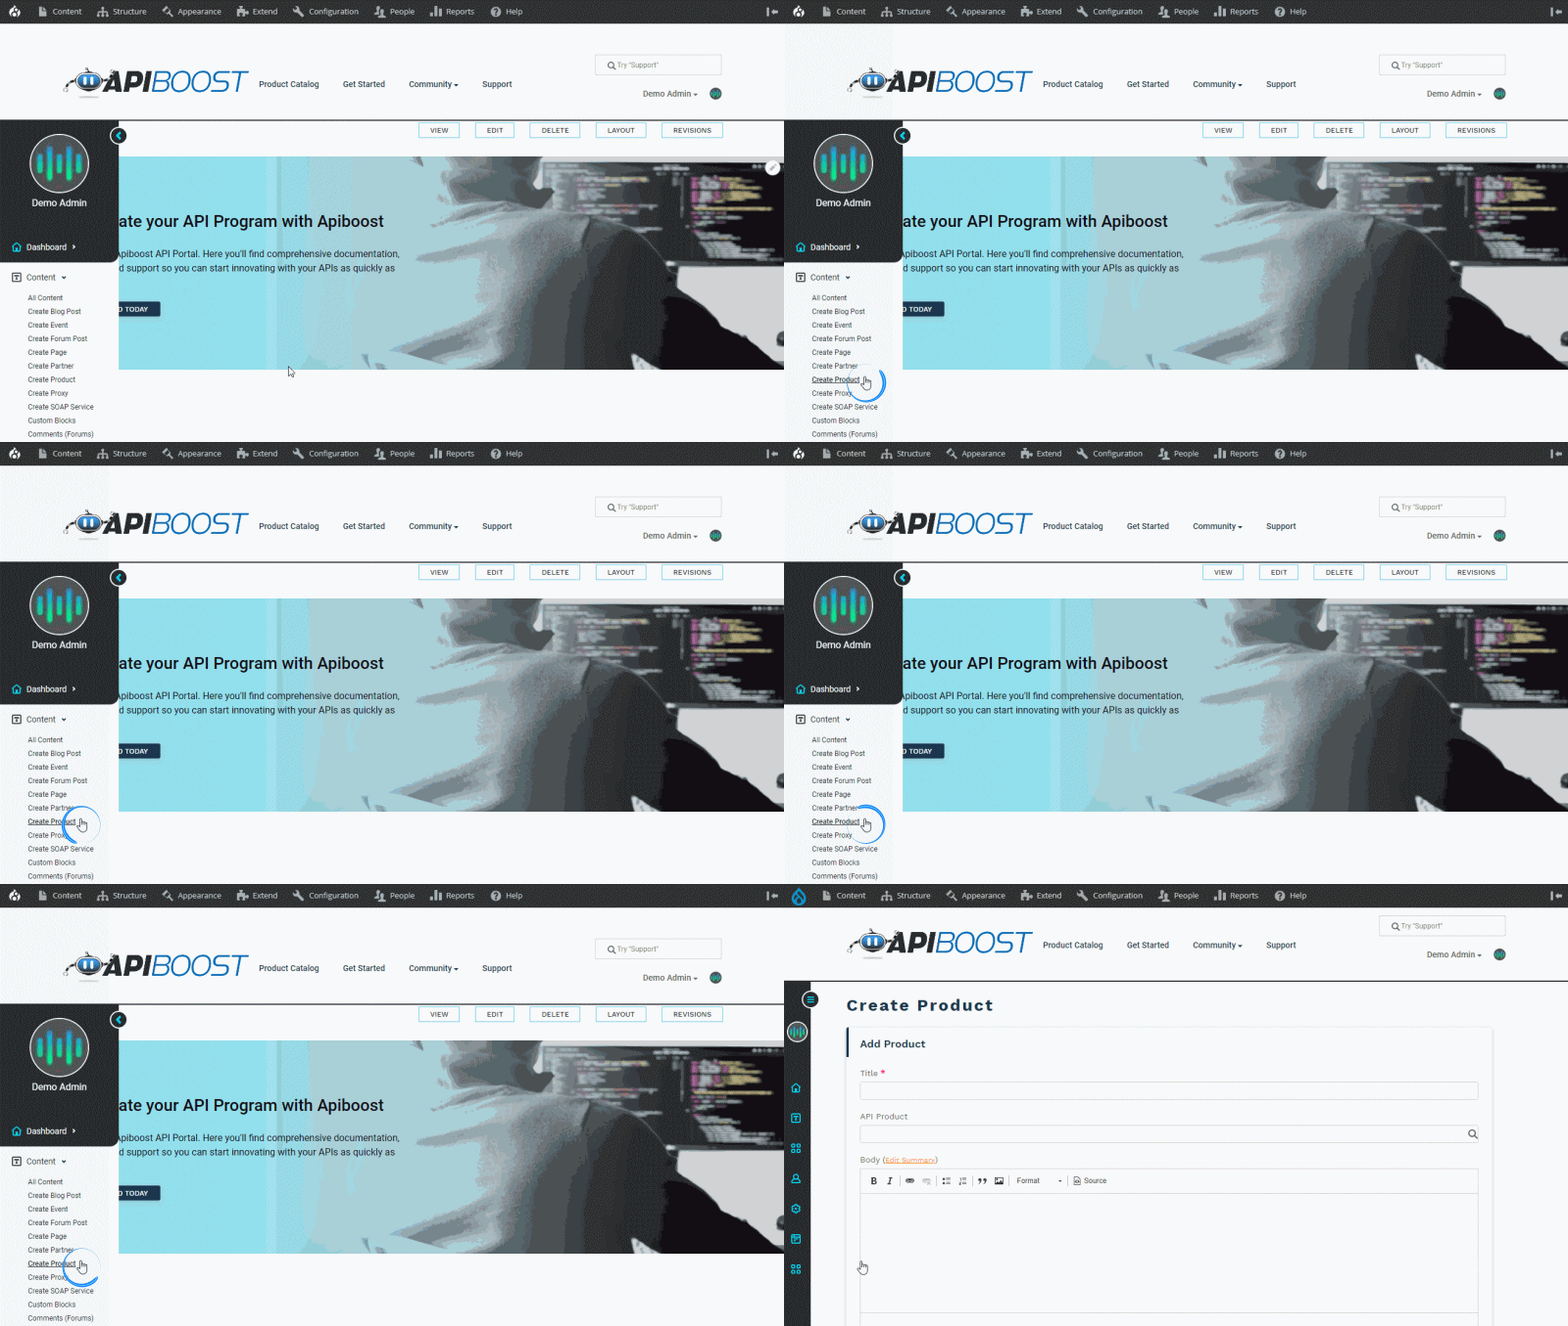
Once connected to Apigee, get started by adding a product from the admin menu:
Content → Add content → API Product

Or by clicking “Create Product” from the side admin menu
API Product Content
The title field is the API Product's name in Apiboost. One thing to note is the name here doesn’t need to match the API name in Apigee. You can alter formatting, or change the name to something more user-friendly.
Apiboost syncs your API Products to the portal as separate entities using their names in Apigee. To add an API to the product, start typing its Apigee name until the search field shows your product:

The API’s name in Apigee is “Get_Started”
Click on the API name and once saved, it will be linked to the API Product in Apiboost
An API can only be linked to one API Product. The search field will not show APIs that are associated with other nodes as they’re not usable. If your API is missing, make sure it’s not associated with another product.
The body field is where you author the page content. Be sure to add the API documentation or at a minimum, some information about the product.
Icons are optional, and are used when displaying the product as a text link:

Using the “cloud-sun” Font Awesome icon
Be sure to reference the Font Awesome library for icons available for use.
Security
Under Product Visibility, there are three levels of access:
Public: Everyone can see the product, including anonymous users.
Restricted: Everyone can see the product, as long as they’re logged in.
Private: No one can see the product, unless given access in Access Groups
At the end of the page, you’ll have the option to designate a Product Owner. Admins are assigned ownership by default. If your organization is structured in a way where a team of one or more product owners exist, then product owners will be able to claim ownership to the products they create here.
Product owners have exclusive access to their products in Apiboost, including manual approval if the product requires it in Apigee. Another product owner cannot modify an API Product they don’t explicitly own, that’s an admin-only function.
Proxies
Be sure to create a proxy before proceeding with these fields.
OpenAPI Specs and SOAP Services are added the same way an API Product is: by typing the name of the proxy(ies) in the field and clicking them as they appear below:

Adding an OAS Spec
The same is done for SOAP Services. Add as many as needed.
Similar to Apigee APIs, proxies cannot be shared between products. Every API Product has a unique set of proxies. Permissions from the API Product are inherited to any proxies that belong to it.
Taxonomy
It’s recommended that search taxonomy is configured before proceeding.
The reference/search field should feel a bit familiar. Filters and Categories are added very much the same as API and Proxies:

Search the name and click.
There are some minor differences between filters and categories, specifically:
The field labels for filters will be the names you chose for each one. If you didn’t alter any of the filter vocabulary titles, they will default to Filter 1, Filter 2, etc.
API Products may only have one category, while multiple terms are accepted in each filter field (using separating commas).
Once you’ve added all required data, save. Congrats on making your first API Product!
