Importing Proxies
Apiboost renders your API specifications into readable documentation for developers.
Using Proxies in Apiboost
Boost supports REST and SOAP API specifications (other formats available as add-ons, contact us to learn more). These specs can be uploaded either manually using the portal UI or as an automated process in a CI/CD pipeline. This documentation covers manual uploads only.
Apiboost has API endpoints to support automated CI/CD configurations, saving you time and effort in manually importing content. Contact us to learn more!
OpenAPI Specification (REST)
The OpenAPI Specification (OAS Specs) allows for the uploading of YAML or JSON formats through the Apiboost admin UI. Once uploaded, the proxy and its associated methods can be linked to a parent API Product.
To import an OAS Spec:
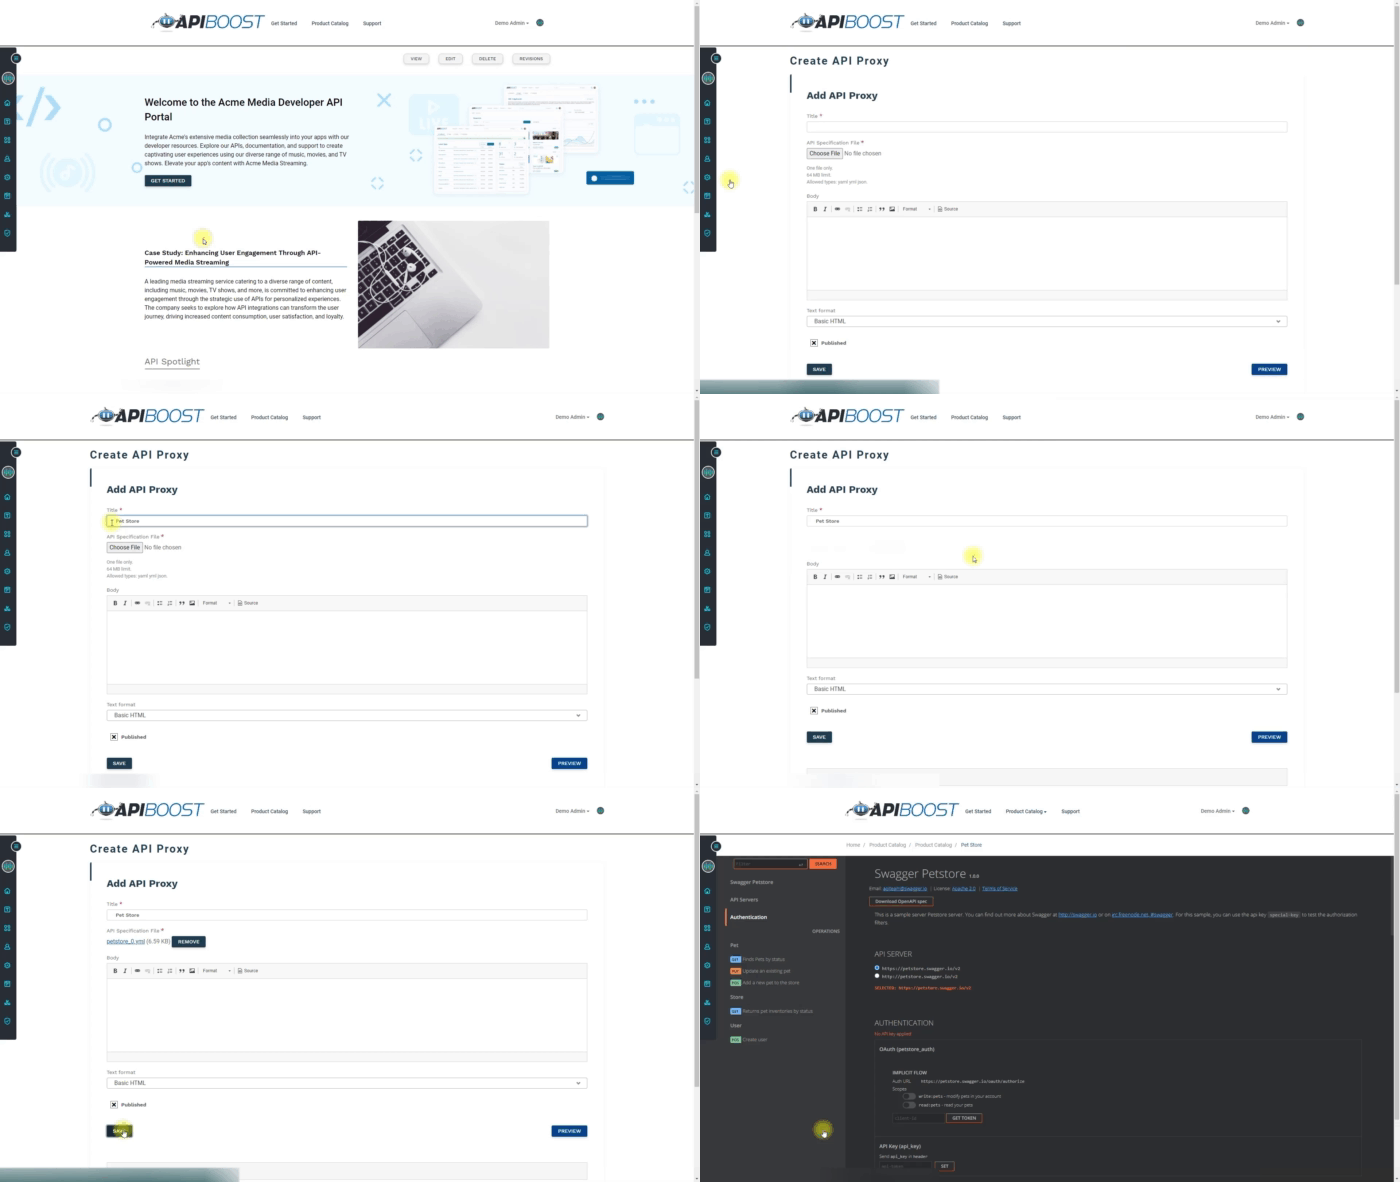
Content → Proxies → Import API Spec

Uploading an API Spec
This page features three fields. In the first field, the user can input the proxy name. The second field is designed to accept either a YML/YAML or JSON file containing the specification details. Finally, in the dropdown menu, one can select the associated API Product to which the proxy belongs.
Depending on workflow, associated product may need to remain blank. Proxies can be linked retroactively when creating and modifying existing API Products.
After creating a proxy, editing it will introduce a new body field. This field serves as a space for adding notes, details, or any other descriptive text pertaining to the proxy. The information entered here will be displayed on the landing page, appearing above the available methods.
By default, all methods are imported, and a proxy's view permissions are set to public. However, it is important to note that permissions are inherited from parent API products. Consequently, once the proxy is linked to the parent product, there is no need to configure permissions separately for both.
The end result should be a rendered list of methods with any descriptive text (if added).
SOAP and WSDL
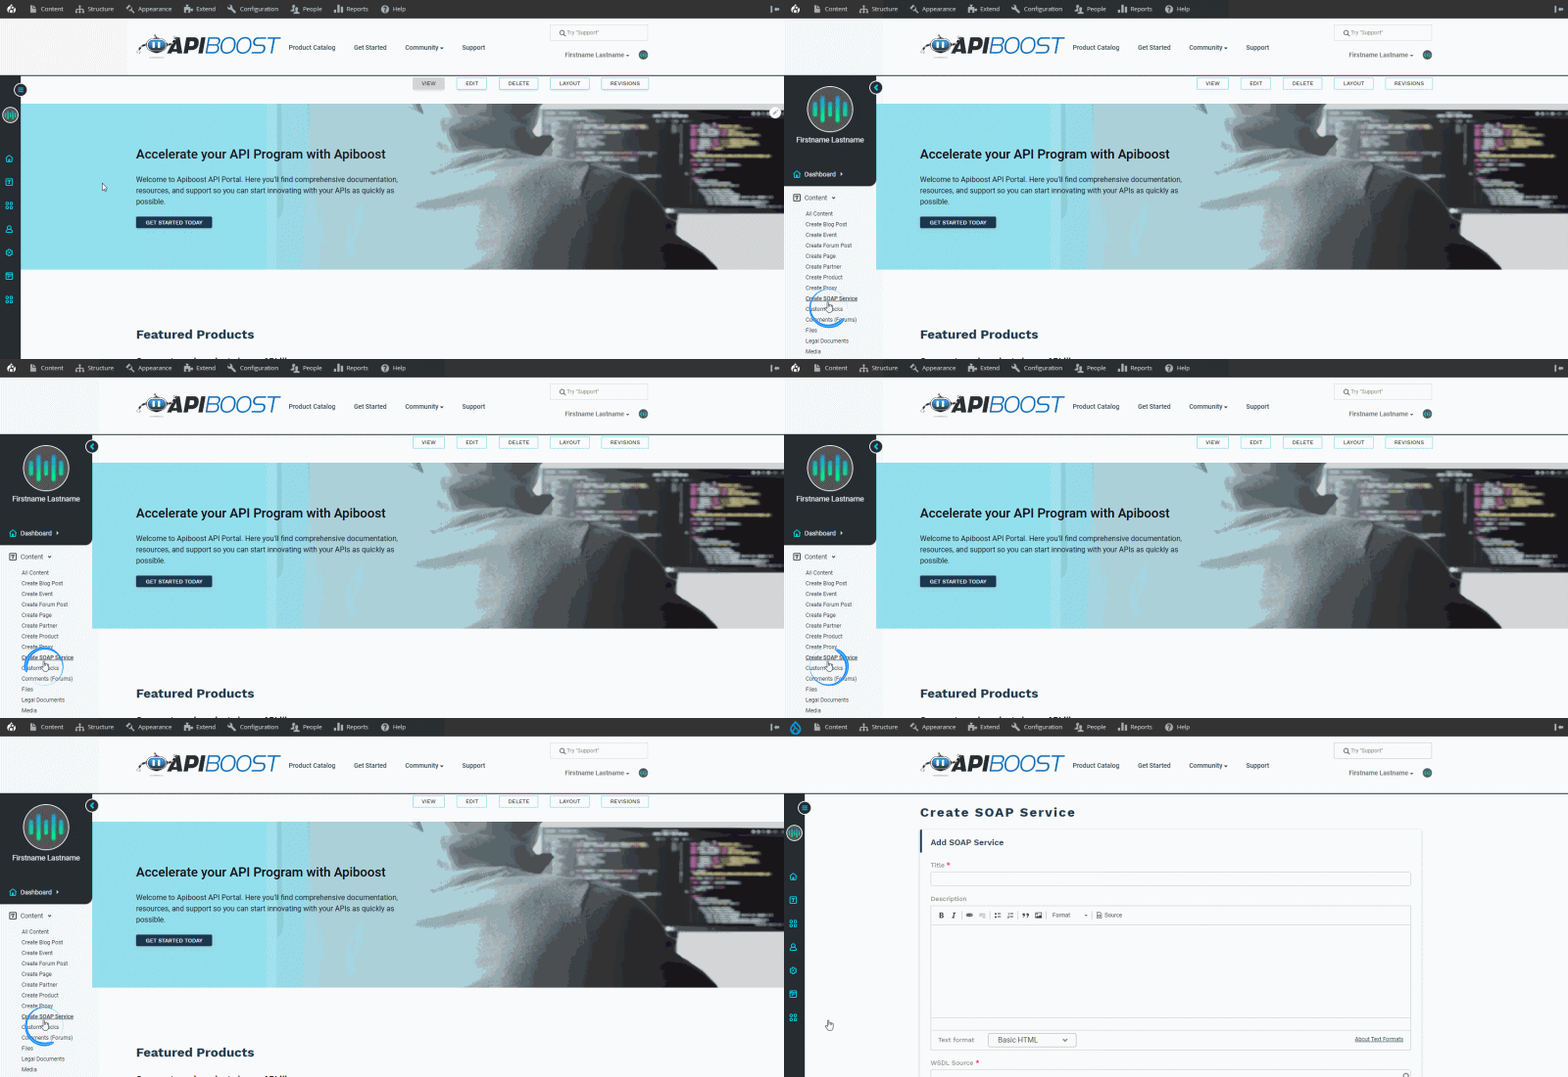
To import SOAP Services, one can utilize a valid WSDL URL. To proceed, click on the "Create SOAP Service" link found in the quick menu on the left:
Content → Add Content → SOAP Service

SOAP Services are added as Drupal nodes
When the editor loads, the fields can be filled out accordingly. Similar to the OpenAPI Specification (OAS), the SOAP Service can be named as desired. It is recommended to choose a name that is easily recognized, particularly when linking the specification to a parent API product. The description field can be used to provide an explanatory overview of the WSDL operations or specify the intended purpose of the SOAP service. The organization has complete autonomy in deciding how these notes should be authored.
Lastly, the WSDL source is required, which corresponds to the WSDL URL.
Try it out by using http://www.dneonline.com/calculator.asmx?wsdl to import the calculator WSDL source and operations
Need more help? Contact us today for assistance.
