
This guide aims to help new users understand how to use each setting on the Manage Site Settings API page effectively. Users should follow the steps outlined to make the desired changes and ensure they click "Save Changes" to apply them.
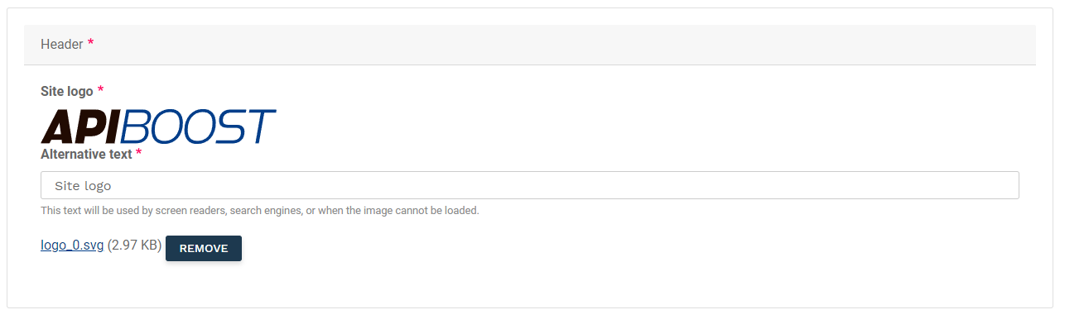
1. Site Logo and Alt Text
-
Logo Upload
-
Description: Upload a logo for your site to display in the header.
-
Steps:
-
Click the "Browse" button.
-
Select the image file you want to use as your logo.
-
The selected file will be previewed in the logo area.
-
Click "Save Changes" to apply the new logo.
-
-
-
Alt Text
-
Description: Provide alternative text for the logo, which helps with accessibility and SEO.
-
Steps:
-
Enter a descriptive text for the logo in the input box.
-
This text will be used by screen readers and displayed if the image fails to load.
-
Click "Save Changes" to apply the alt text.
-
-
2. Appearance Settings
Background Colors:

-
Description: Change the background colors for different parts of the admin interface.
-
Fields:
-
Header Background Color: Changes the entire floating site header's background color.
-
Body Background Color: Changes the background color of the body region, not the entire page background. This creates a colored column within the page background.
-
Accent Background Color: Changes the background color of containers on the site, such as link cards or sections of the backend dashboard.
-
Stroke Background Color: Changes the outline color of link cards.
-
Panels & Sidebar Background Color: Changes the background color of the table of contents box.
-
Footer Background Color: Changes the background color of the footer region, similar to the header but at the bottom of the page.
-
-
Steps:
-
Click on the color picker for the desired field.
-
Choose your desired color.
-
The selected color will be previewed.
-
Click "Save Changes" to apply the new color.
-
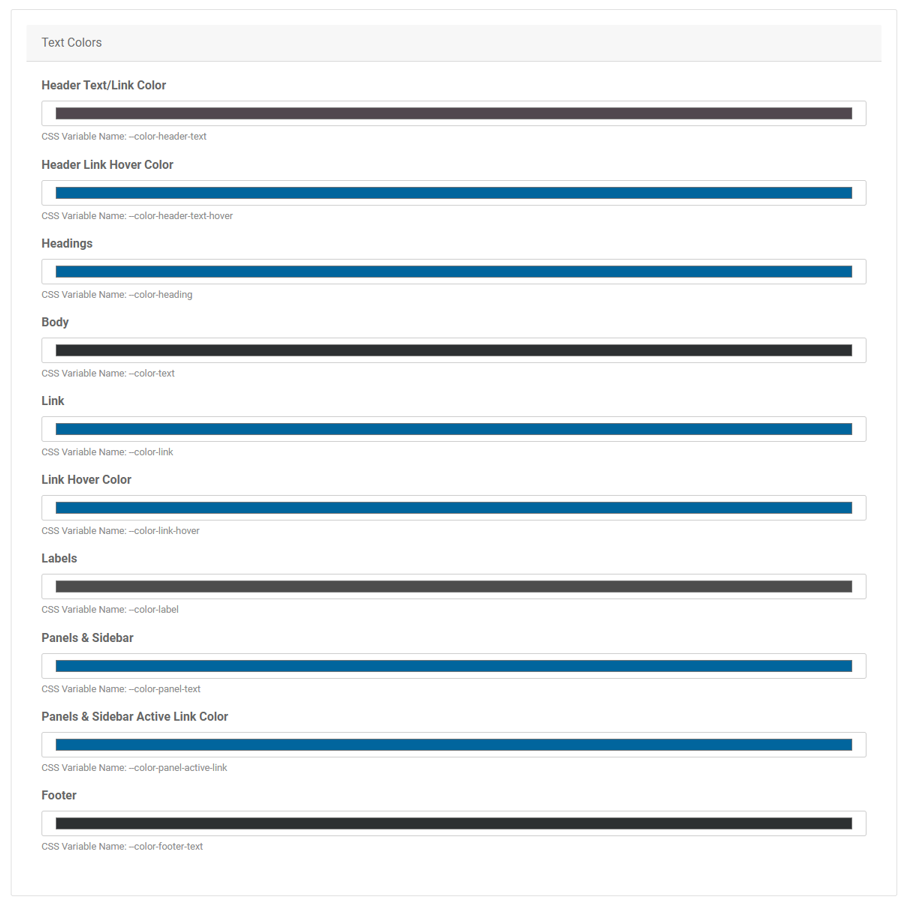
Text Colors:
Change the text and link colors for different parts of the admin interface.
-
Fields:
-
Header Text/Link Color
-
Header Link Hover Color
-
Headings Color
-
Body Text Color
-
Link Color
-
Link Hover Color
-
Labels Color
-
Panels & Sidebar Text Color
-
Panels & Sidebar Active Link Color
-
Footer Text Color
-
-
Steps:
-
Click on the color picker for the desired field.
-
Choose your desired color.
-
The selected color will be previewed.
-
Click "Save Changes" to apply the new color.
-
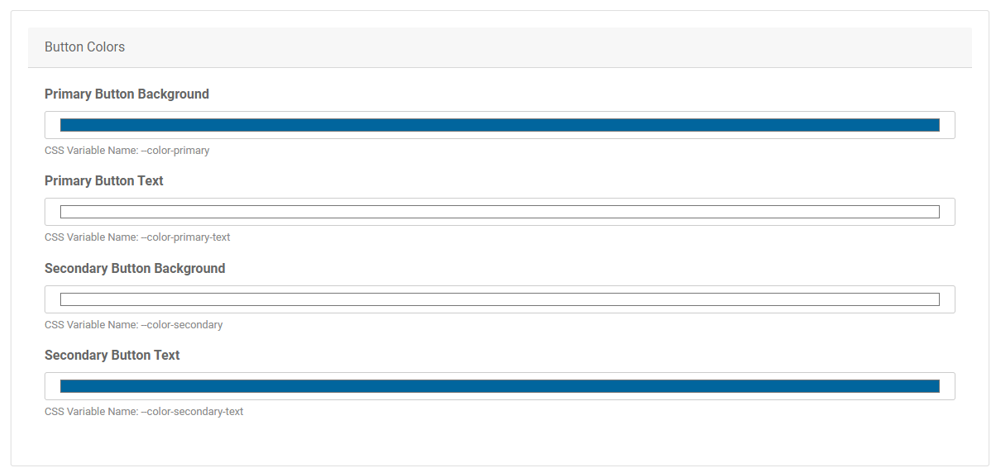
Button Colors:
-
Description: Change the background and text colors for primary and secondary buttons.
-
Fields:
-
Primary Button Background
-
Primary Button Text
-
Secondary Button Background
-
Secondary Button Text
-
-
Steps:
-
Click on the color picker for the desired field.
-
Choose your desired color.
-
The selected color will be previewed.
-
Click "Save Changes" to apply the new color.
-
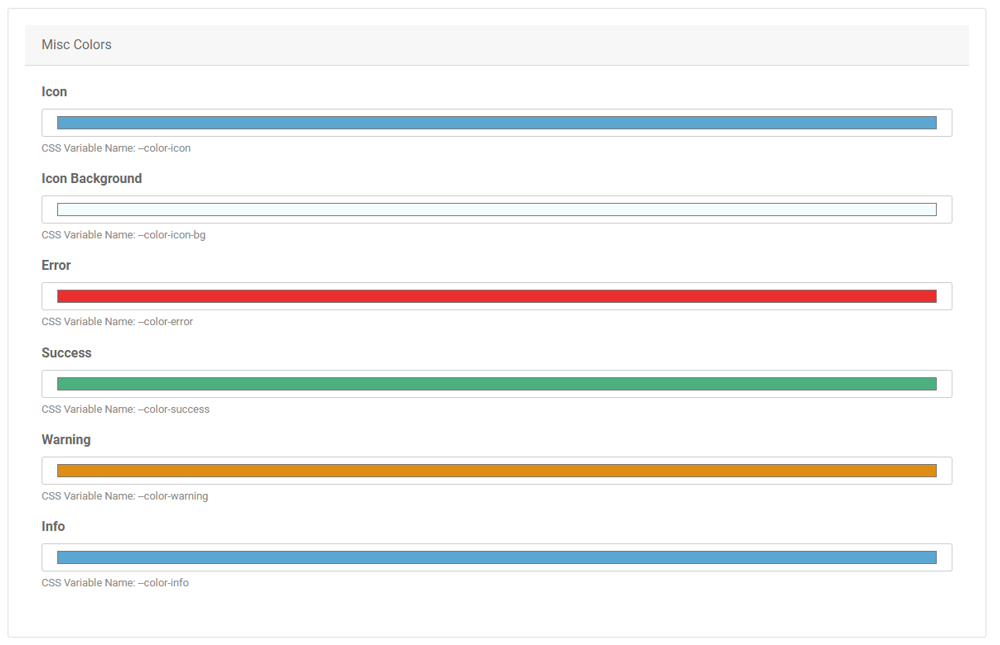
Misc. Color Settings:
Change the colors for various elements such as icons and status messages.
-
Fields:
-
Icon Color
-
Icon Background Color
-
Error Color
-
Success Color
-
Warning Color
-
Info Color
-
-
Steps:
-
Click on the color picker for the desired field.
-
Choose your desired color.
-
The selected color will be previewed.
-
Click "Save Changes" to apply the new color.
-
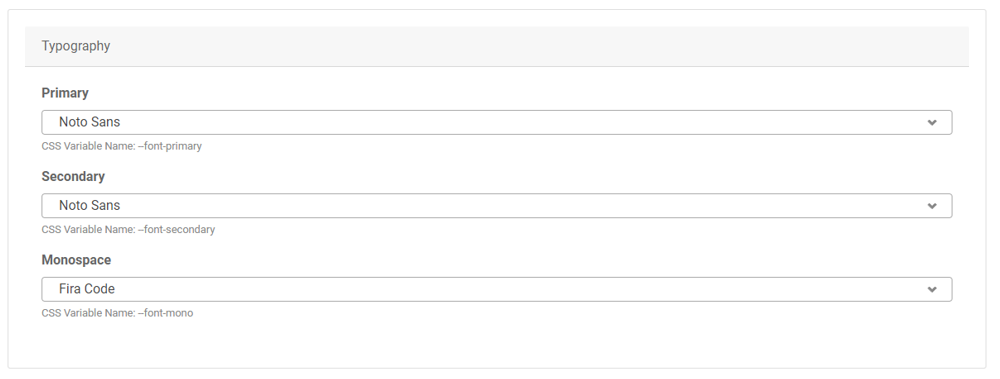
Typography Settings:
-
Description: Select fonts for different parts of the site.
-
Fields:
-
Primary Font
-
Secondary Font
-
Monospace Font
-
-
Steps:
-
Click on the dropdown menu for the desired field.
-
Choose your desired font.
-
The selected font will be previewed.
-
Click "Save Changes" to apply the new font.
-
3. Custom CSS:
Overriding site styles can have an adverse effect on the appearance of your portal. This field is recommended for advanced users only.
Apiboost provides an additional custom CSS field for advanced customization.

-
Steps:
-
Enter your custom CSS code in the text area.
-
This allows for more specific and advanced styling changes.
-
Click "Save Changes" to apply the custom CSS.
-
4. Footer Settings:
Footer Logo
-
Description: Upload a logo for the footer.
-
Steps:
-
Click the "Browse" button.
-
Select the image file you want to use as your footer logo.
-
The selected file will be previewed in the footer logo area.
-
Click "Save Changes" to apply the new footer logo.
-
Contact Information
-
Description: Provide contact information to display in the footer.
-
Steps:
-
Enter the contact information in the input box.
-
This information will be displayed in the footer of the site.
-
Click "Save Changes" to apply the contact information.
-
Social Links
-
Description: Add links to various social media sites to display in the footer.
-
Steps:
-
Enter the URL for each social media site in the respective input boxes (e.g., Facebook, Twitter, LinkedIn, Instagram).
-
These links will be displayed in the footer's social links section.
-
Click "Save Changes" to apply the social media links.
-
Once all fields are set, save your settings and verify the changes on the portal.