Advanced Settings
Be sure to familiarize yourself with the basics of product organization before proceeding with product catalog settings.
Catalog Settings
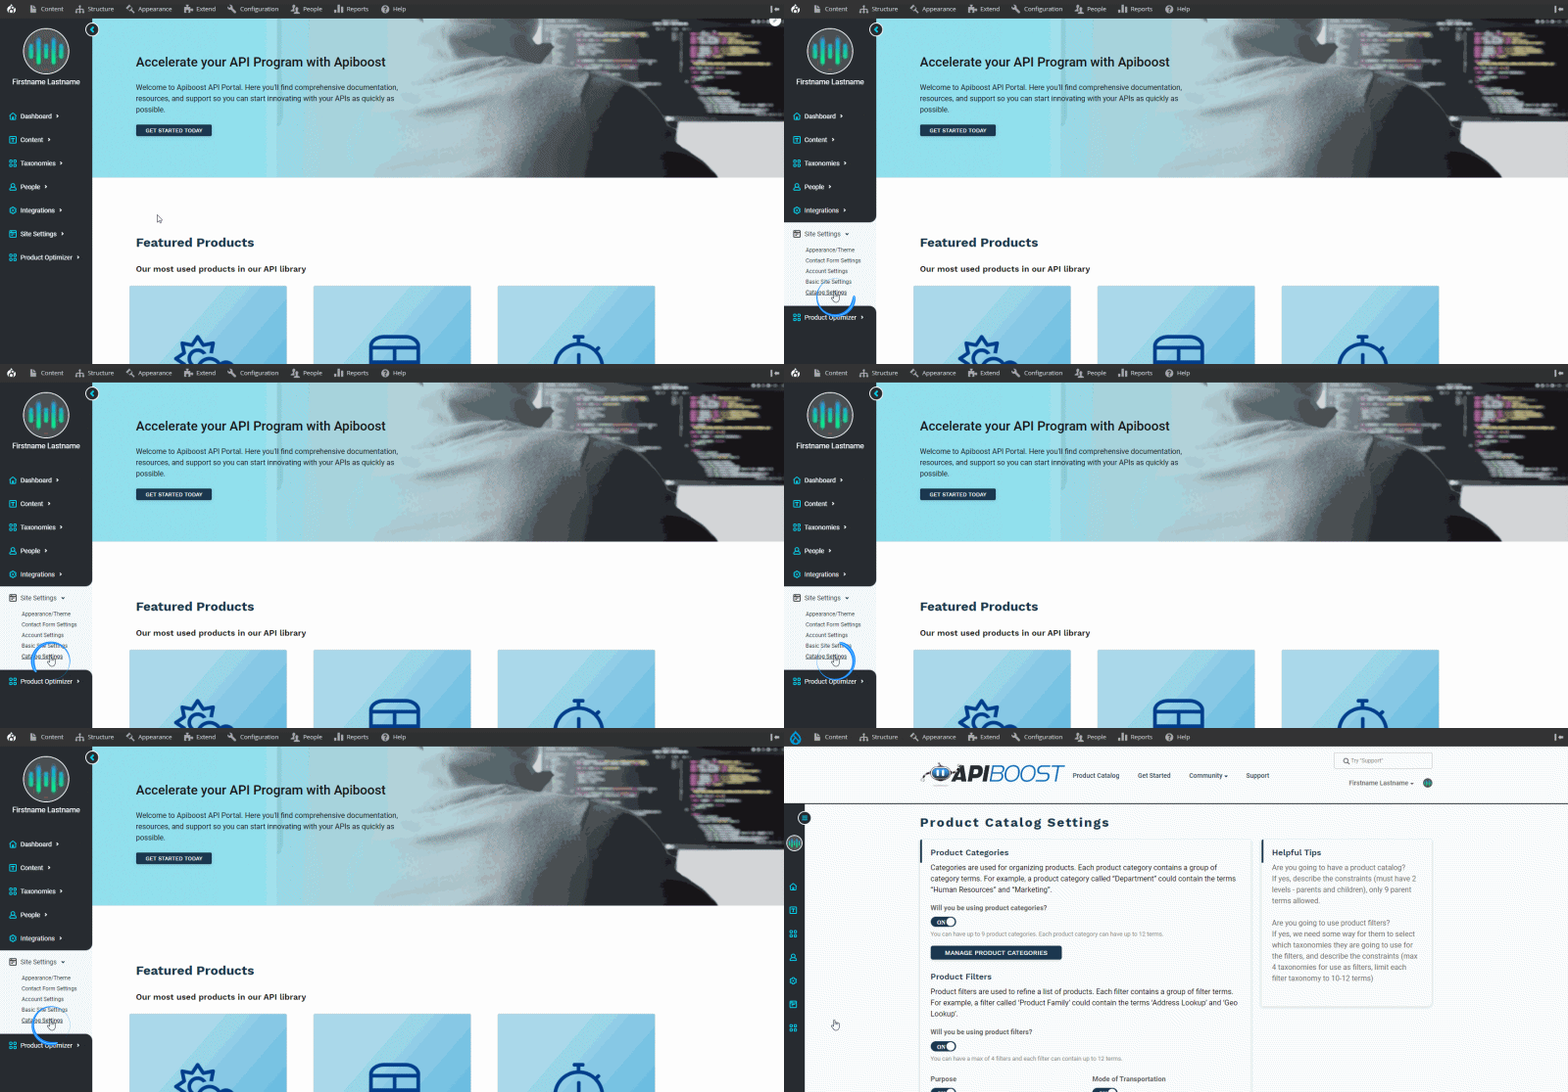
The catalog settings can be accessed from the left admin menu under “Site Settings”

Locating catalog settings in the left admin menu
Sizing Up Your Catalog
Product categories (toggle): The very first thing we can do here is shut product categories off. Remember the cards with titles and links to different categories? What if we didn’t want that and just wanted a product catalog that showed API Products. That’s what disabling categories does.
Manage Product Categories
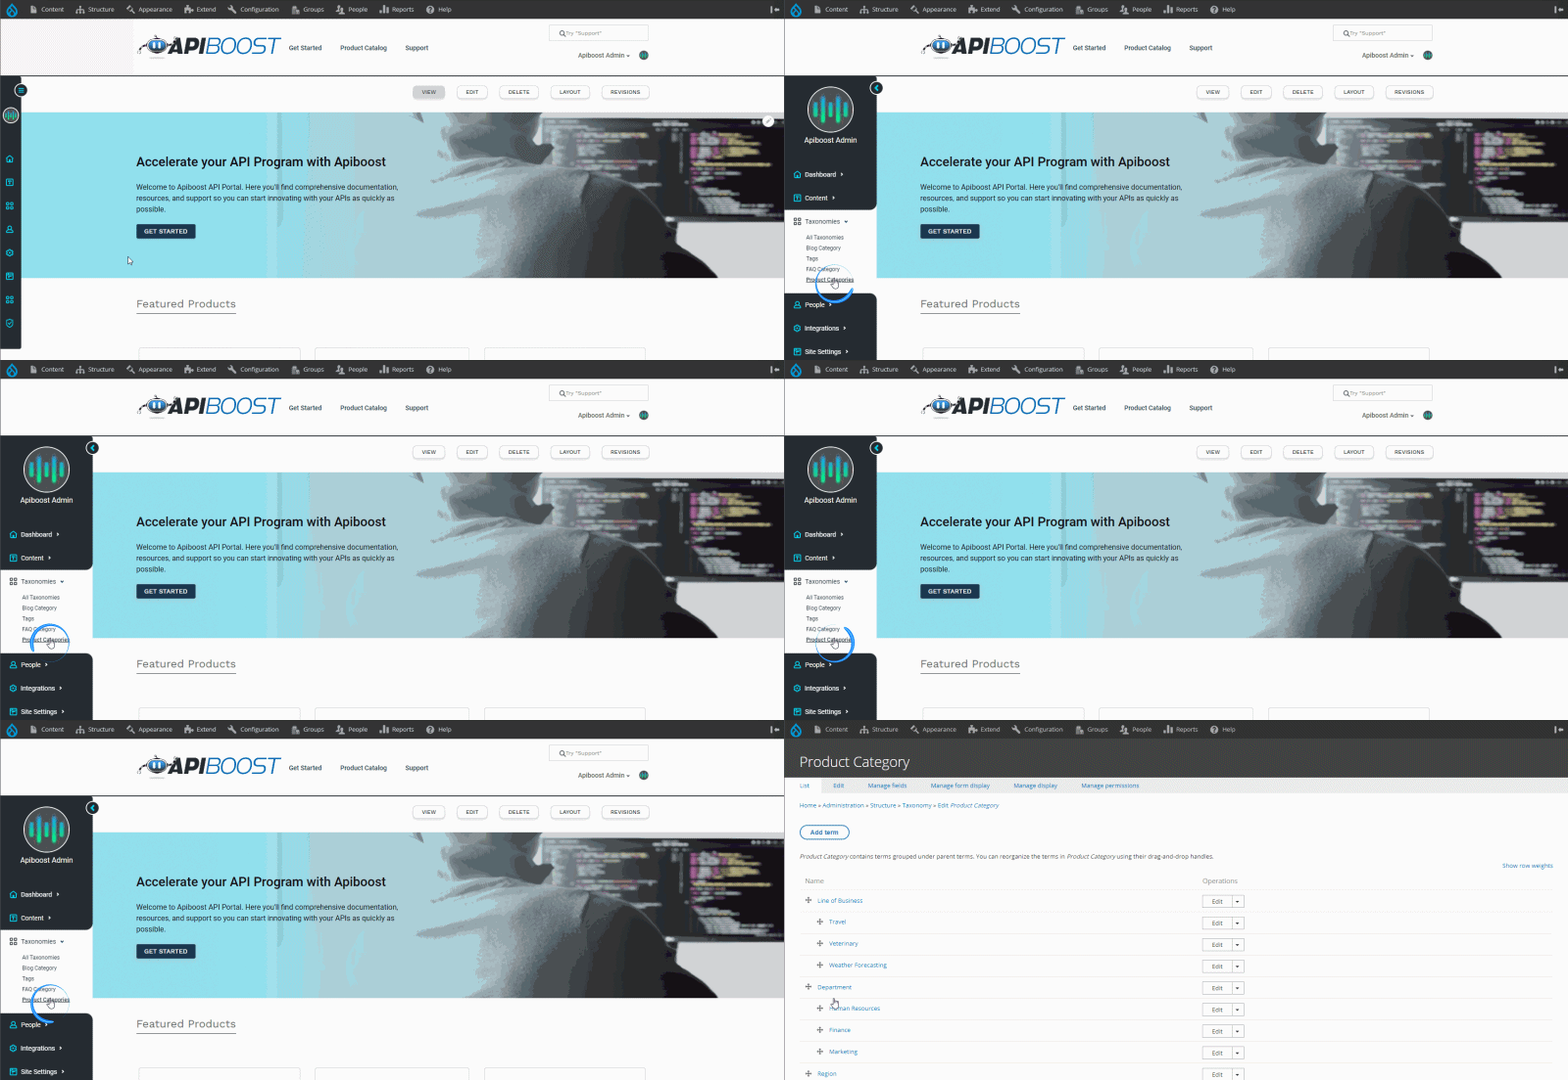
There’s a handy link on this page that will take you to product categories, should you need to make any immediate changes. From the left hand admin menu:

Editing product categories from the left admin menu
Toggle Filters Display
Similar to categories, this turns the search filters off. The difference is the UX doesn’t change as much since filters are a secondary search feature than something affecting how content is displayed. If you’re not using filters, shut them off. If you’re using some filters, but maybe not others, then keep reading!
Choose Your Filters
There are toggles for all four filters. If you’re not using a filter, then it can be disabled and hidden from view. Should you decide later on you need an extra filter, it’ll be available for use. Head right back to this page, turn it back on and you’ll have a new filter ready to go.
Each filter has a manage button which takes you to the taxonomy settings page for that filter. This is a quick way to add new filter terms, rearrange existing ones or rename the filter itself.
With API catalog set up, you can start loading it with API products.
