
The documentation experience is enhanced for Apiboost V2! Continue reading to learn more.
About API Products
Apiboost encapsulates your APIs into nodes, creating user documentation with configurable security settings. API Products are the core and why you’re using Apiboost. This section about content assumes you already have your portal connected to a provider. If not, be sure to configure your portal before proceeding. If you need further assistance connecting your portal to a provider, please contact support.
Changes in V2
The latest version, V2, offers an array of exciting updates to both products and proxies, including new UI enhancements and featured layouts. Additionally, the traditional Swagger interface has been replaced with the more user-friendly RapiDocs interface for a more intuitive experience. Despite the changes, adding new products to the portal remains as simple as ever, albeit with a few new fields to take note of to fully leverage this update.
Adding New API Products
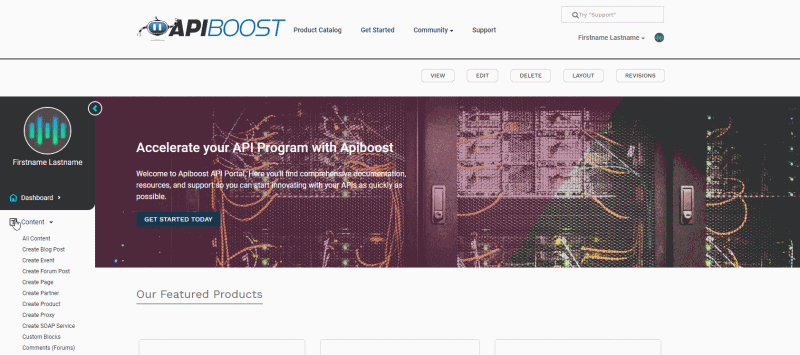
To begin using Apigee APIs, add an Apiboost product from the left-hand admin menu:
Content → Create Product
API Product Content
In Apiboost, the title field refers to the name of the API Product in use. It's worth noting that this title does not need not be identical to the corresponding API name in Apigee. You have the flexibility to modify the formatting or choose a more intuitive title.
When syncing your API Products to the portal through Apiboost, each product is treated as an independent entity, identified by its name in Apigee. To add an API to the product, simply start typing the Apigee name in the search field until your desired product appears:

To link an API to an API Product in Apiboost, simply click on the API name and save the changes.
Please note that each API can only be linked to one API Product. Therefore, the search field will not display any APIs that are associated with other nodes as they cannot be used. If you cannot find your API, please ensure that it is not linked to any other product.
When authoring the page content, use the subsequent body field to provide API documentation or at least some essential information about the product.
Cover Art & Icons
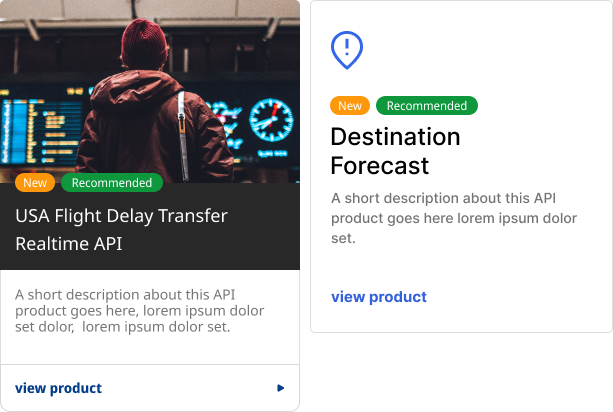
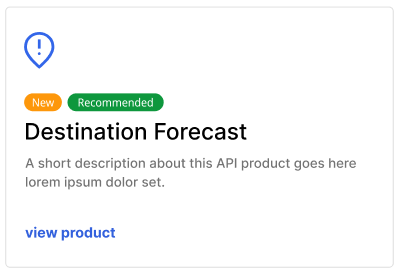
At least one of the following is required to display products on the site, or else the default image/icon will be used based on the paragraph display setting. For example, if the display setting is set to "icon", the default icon will be used. Products can be displayed using cover/thumbnail images, Font Awesome icons, or a combination of both.
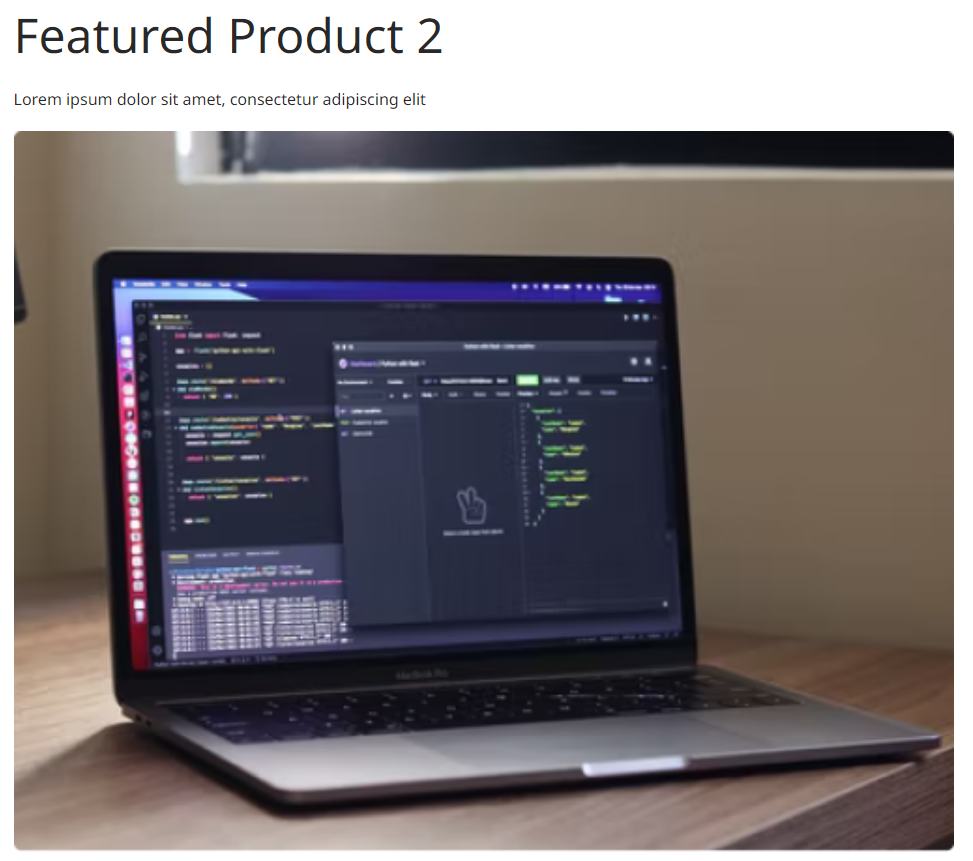
Cover images are typically used on product documentation pages. Although these images can be quite large, it's generally not recommended to use them excessively, unless they're infographics, for instance:
Thumbnail image appears in the paragraphs on landing pages throughout the site, typically homepage. Icons are only visible in the paragraph components and do not appear on the documentation pages.
Be sure to reference the Font Awesome library for icons available for use.
Please note that when using an image or icon display for paragraphs, it can significantly affect the overall appearance of the display. It is not merely a substitution of one for the other. We encourage users to experiment with both options and determine which works best, and if possible, consider using a combination of both.
Tip: Utilizing multiple "More Products" paragraphs with different display settings will allow usage of both cover art and icon layouts on the same page.
Security
Under Product Visibility, there are four levels of access:
-
Public: Everyone can see the product and proxies
-
Public - Restricted: Everyone can see the product, but must be logged in to see proxies.
-
Restricted: Everyone can see the product, but must log in to see proxies.
-
Private: No one can see the product nor proxies, unless given access in Access Groups
The user must then designate a Product Owner (if not themselves). Admins are usually assigned ownership by default. If the organization is structured in a way where a team of one or more product owners exist, then product owners will be able to claim ownership to the products they create here.
Product owners have exclusive access to their products in Apiboost, including manual approval if the product requires it in Apigee. Another product owner cannot modify an API Product they don’t explicitly own, that’s an admin-only function.
Proxies
Be sure to create a proxy before proceeding with these fields.
OpenAPI Specs and SOAP Services are added the same way an API Product is: by typing the name of the proxy(ies) in the field and clicking them as they appear below:

The same is done for SOAP Services. Add as many as needed.
Similar to Apigee APIs, proxies cannot be shared between products. Every API Product has a unique set of proxies. Permissions from the API Product are inherited to any proxies that belong to it.
Taxonomy
It’s recommended that search taxonomy is configured before proceeding.
The reference/search field should feel a bit familiar. Filters and Categories are added very much the same as API and Proxies:

There are some minor differences between filters and categories, specifically:
-
The field labels for filters will be the names you chose for each one. If you didn’t alter any of the filter vocabulary titles, they will default to Filter 1, Filter 2, etc.
-
API Products may only have one category, while multiple terms are accepted in each filter field (using separating commas).
The tags field has a significant visual impact. When tags are added to a product, they are displayed on the product card. This applies to both cover image and icon configurations, as shown above.
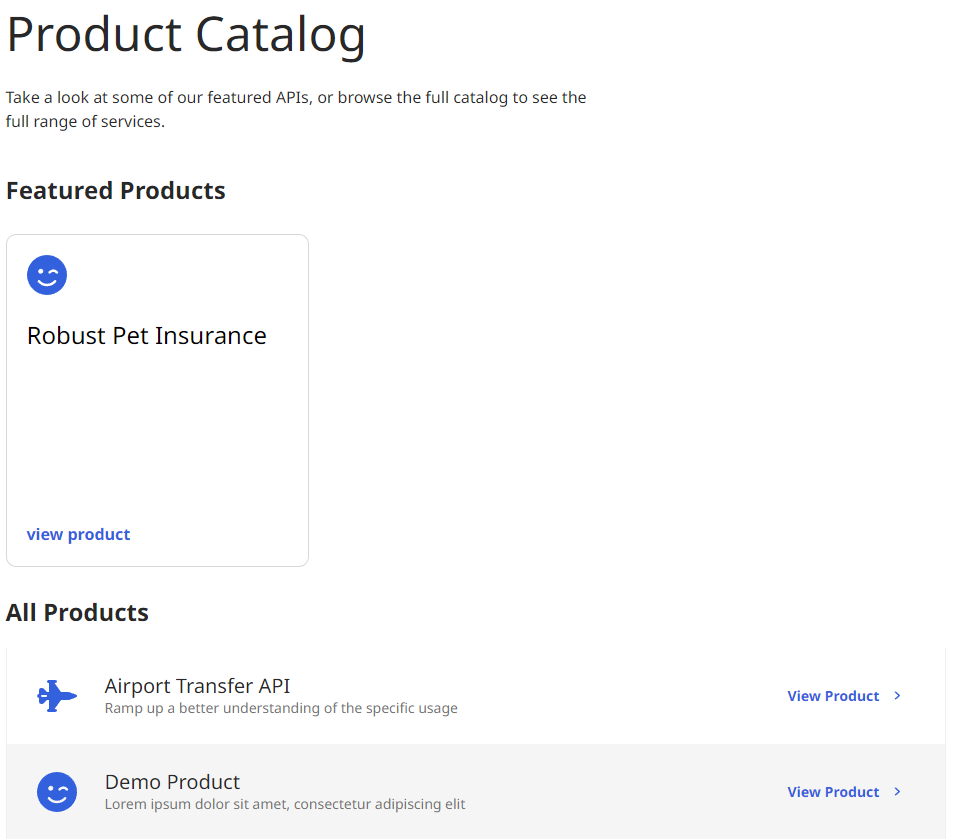
Featuring a Product
Located at the bottom of the page, an available toggle button facilitates the showcasing of the product in the product catalog. Enabling this toggle grants prominence to the product by positioning it at the forefront of the catalog within a dedicated "Featured Products" section, while the remaining products are neatly grouped in a separate section labeled "All Products" below.
The featured products section is limited to three items per page, with the newest products displayed first. However, it's important to note that the overall catalog is not restricted to only three featured products. On each category page, you will find featured products specifically from that particular category. Most use cases, especially those using large catalog would require more than three products be featured.
Featuring a product in the catalog will not include the product in the featured products section on the homepage. For more details refer to the paragraph layouts documentation.

Once you’ve added all required data, save. Congrats on making your first API Product!