
CLI Deployment
Installation overview
Create a GCP project
Create a Kubernetes cluster to host Apiboost
Purchase Apiboost
Obtain license key
Prepare the Kubernetes helm chart
Deploy Apiboost to the cluster
Prerequisites
Setting up command-line tools
You need the following tools in your development environment:
Configure gcloud as a Docker credential helper:
gcloud auth configure-dockerStep 1: Create (or select) a project
Create a GCP Project and link a billing account. See the official Google documentation at https://cloud.google.com/resource-manager/docs/creating-managing-projects for detailed instructions.
Step 2: Create a Kubernetes cluster to host Apiboost
Create a Kubernetes cluster to host your Apiboost installation. You can use either an autopilot cluster or a standard cluster when deploying Apiboost via the command line. See https://cloud.google.com/kubernetes-engine/docs/concepts/kubernetes-engine-overview for information on how to select and create a Kubernetes cluster.
Also, review the minimum configuration requirements for your cluster on the GCP Marketplace installation instructions.
Step 3: Purchase Apiboost from the marketplace
Go to the Apiboost marketplace listing (TODO: make this a link to the listing)
Review the product information and pricing. Click the “Purchase” button.
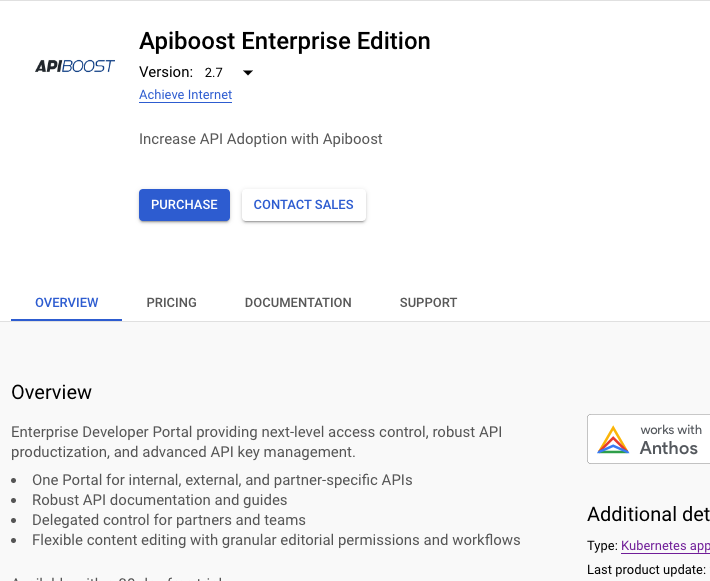
Screenshot of the Apiboost product page showing the Purchase button.
You’ll be prompted to select the Apiboost subscription plan and a billing account. Complete the form and click “Subscribe”.
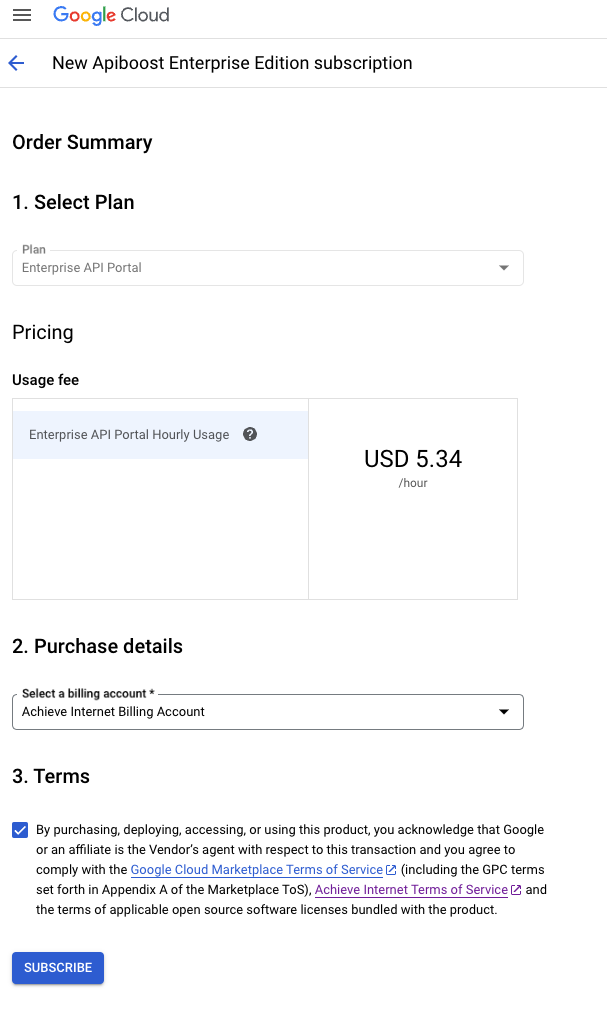
Screenshot of the subscription billing configuration screen.
You’ll then see a confirmation screen about your order being submitted; click the “Go to product page” button to continue with the production installation.
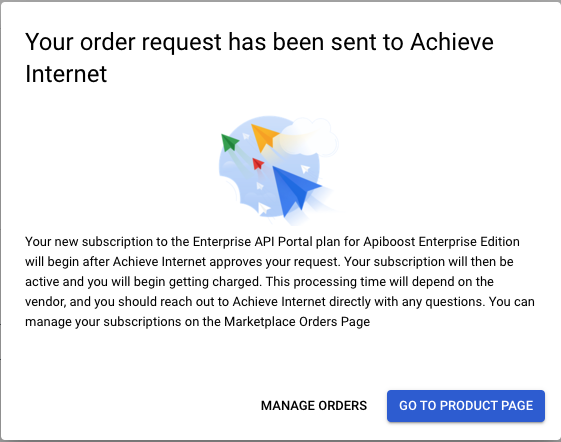
Screenshot of the order confirmation dialog.
Step 4: Obtain license key
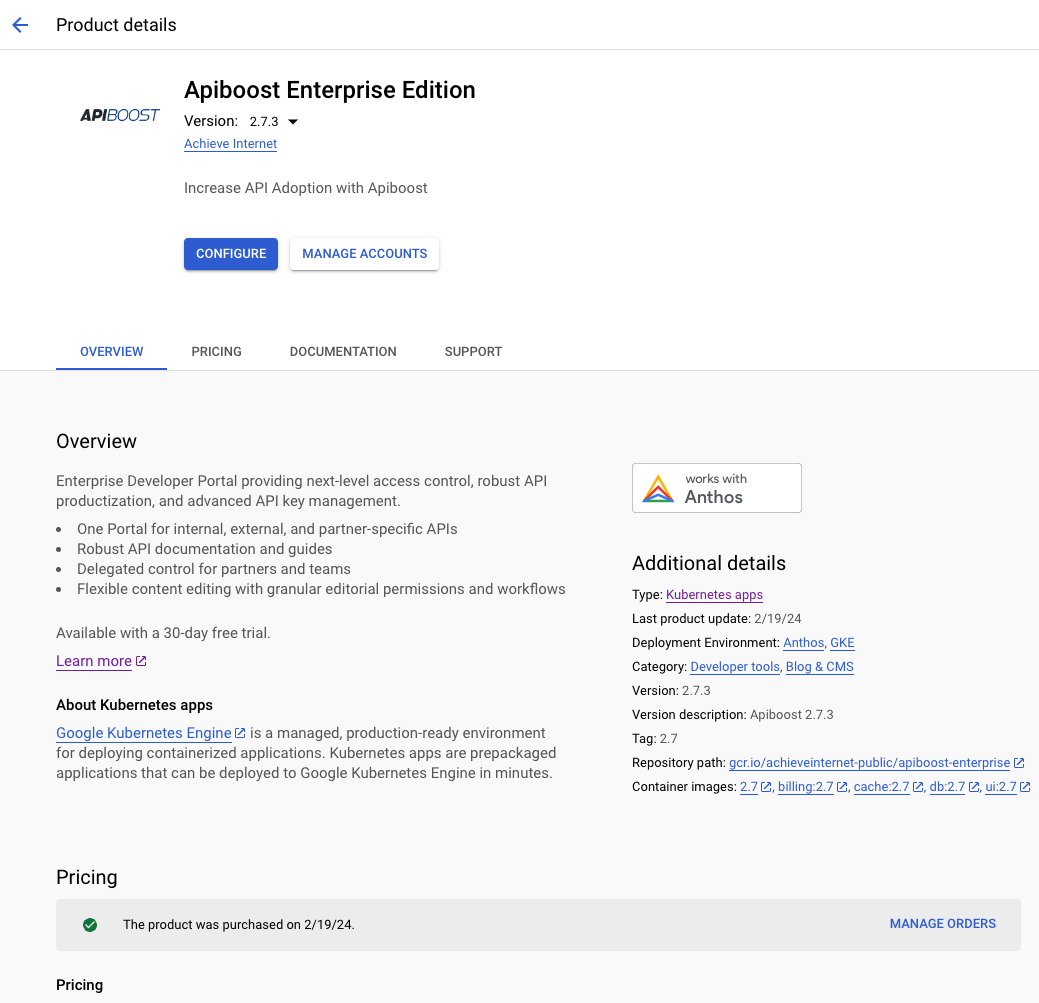
Click the “Manage Orders” button to go to the orders screen.
Click on the order number to go to the application configuration screen.
Click the configure button
On the configuration screen, click on the “Deploy via command line” tab
Ensure that the “Reporting service account” dropdown is set to “create new service account” and click the “Download License Key” button.
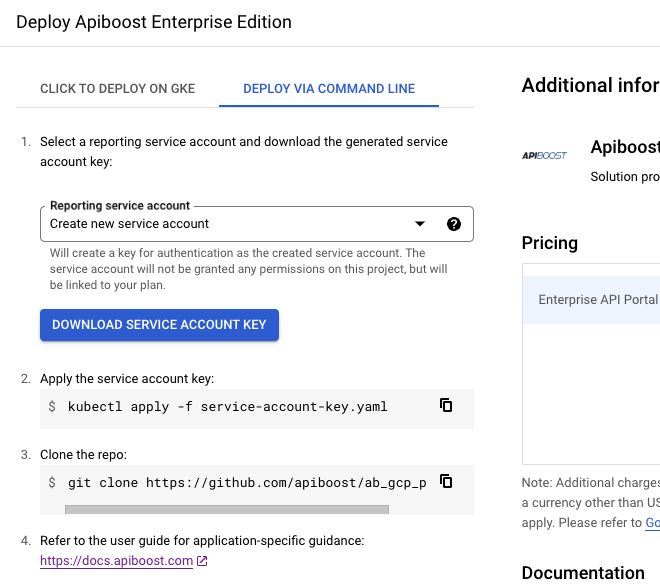
This will create a “service-account-key.yaml” file in your downloads folder. Copy that file to a location that is convenient such as the cli-deploy folder.
Step 5: Prepare environment variables
The installation process requires that the following environment variables be defined.
# GCP Project and Kubernetes information.
export NAMESPACE="<kubernetes namespace to install to>"
export GCP_PROJECT_ID="<name/id of the GCP project to deploy to>"
export GCP_CLUSTER_NAME="<name of your kubernetes cluster to deploy to>"
export GCP_CLUSTER_REGION="<GCP region for your cluster>"

# Define aliases for password and api key generation.
alias generate_pwd="cat /dev/urandom | LC_ALL=C tr -dc 'a-zA-Z0-9' | fold -w 24 | head -n 1 | tr -d '\n'"
alias generate_api_key="cat /dev/urandom | LC_ALL=C tr -dc 'a-zA-Z0-9' | fold -w 128 | head -n 1 | tr -d '\n'"

# Set Apiboost GCP License.
export AB_LICENSE=`cat service-account-key.yaml`

# Apiboost configuration settings.
export APP_INSTANCE_NAME="<enter the name for your Apiboost install>"
export AB_BASE_IMAGE="gcr.io/achieveinternet-public/apiboost-enterprise"
export TAG="<current release version of Apiboost>"
export AB_PUBLIC_INGRESS="<true|false>"
export AB_DEFAULT_ADMIN_USERNAME="<username for the default admin account>"
export AB_DEFAULT_ADMIN_EMAIL="<email for the default admin account>"
export AB_DB_APPLICATION_USER="<username for the Apiboost site db>"
export AB_BACKEND_DOMAIN="<domain url for the admin backend>"
export AB_FRONTEND_DOMAIN="<domain url for the UI frontend>"
export AB_BACKEND_STORAGE_CLASS="<the name of the storage class to use>"
export AB_BACKEND_STORAGE_SIZE="10Gi"
export AB_DB_STORAGE_CLASS="<the name of the storage class to use>"
export AB_DB_STORAGE_SIZE="5Gi"

# Set instance specific credentials.
export AB_UI_API_TOKEN="$(generate_api_key)"
export AB_REDIS_PASSWORD="$(generate_pwd)"
export AB_DEFAULT_ADMIN_PASSWORD="$(generate_pwd)"
export AB_BACKEND_HASH_SALT="$(generate_api_key)"
export AB_DB_ROOT_PASSWORD="$(generate_pwd)"
export AB_DB_APPLICATION_PASSWORD="$(generate_pwd)"
export AB_CREDENTIAL_KEY="$(generate_api_key)"

# TLS Certificates.
export AB_UI_TLS_CERTIFICATE_KEY="<base64 encoded TLS certificate public key>"
export AB_UI_TLS_CERTIFICATE_CRT="<base64 encoded TLS certificate private key>"
export AB_BACKEND_TLS_CERTIFICATE_KEY="<base64 encoded TLS certificate public key>"
export AB_BACKEND_TLS_CERTIFICATE_CRT="<base64 encoded TLS certificate private key>"
NOTE 1: The APP_INSTANCE_NAME must start with a lowercase letter and consist of only lowercase letters, numbers, and hyphens. Cannot be longer than 53 characters.
NOTE 2: See Generating TLS Certificates for instructions on how to create a self-signed certificate for testing.
NOTE 3: You can use kubectl get storageclass to see a list of available storage classes in yo
Step 6: Prepare the Kubernetes helm chart
Clone the Github repo to get the helm charts for the product.
There is a script in the github repo named “cli-install.sh” that performs the following actions.
Open a terminal window and change to the “deployer” directory within the repo.
Extract license information from the downloaded license file and assign the values to environment variables. This can be either be done manually or via the following scripts if you have the yq command on your computer.
ENTITLEMENT_ID=$(echo "${AB_LICENSE}" | yq e '.data."entitlement-id"' -r)
CONSUMER_ID=$(echo "${AB_LICENSE}" | yq e '.data."consumer-id"' -r)
REPORTING_KEY=$(echo "${AB_LICENSE}" | yq e '.data."reporting-key"' -r)
Connect your terminal to the correct project and cluster:
gcloud config set project "${GCP_PROJECT_ID}"
gcloud container clusters get-credentials $GCP_CLUSTER_NAME --region $GCP_CLUSTER_REGION --project $GCP_PROJECT_ID
Ensure that the Kubernetes cluster contains the application resource by running:
kubectl apply -f "https://raw.githubusercontent.com/GoogleCloudPlatform/marketplace-k8s-app-tools/master/crd/app-crd.yaml"If NAMESPACE is not set to “default”, run the following command to ensure that the namespace exists.
kubectl create namespace $NAMESPACEThen run the following command to generate your Kubernetes manifest:
helm template "${APP_INSTANCE_NAME}" "chart/apiboost" \
  --create-namespace \
  --namespace "${NAMESPACE}" \
  --set apiboost.image.repo="${AB_BASE_IMAGE}" \
  --set apiboost.image.tag="${TAG}" \
  --set db.image.repo="${AB_BASE_IMAGE}/db" \
  --set db.image.tag="${TAG}" \
  --set cache.image.repo="${AB_BASE_IMAGE}/cache" \
  --set cache.image.tag="${TAG}" \
  --set billing.image.repo="${AB_BASE_IMAGE}/billing" \
  --set billing.image.tag="${TAG}" \
  --set ui.image.repo="${AB_BASE_IMAGE}/ui" \
  --set ui.image.tag="${TAG}" \
  --set licenseKey="${AB_LICENSE}" \
  --set reportingSecret="${APP_INSTANCE_NAME}-reporting-secret" \
  --set billing.consumerId="${CONSUMER_ID}" \
  --set billing.entitlementId="${ENTITLEMENT_ID}" \
  --set billing.reportingKey="${REPORTING_KEY}" \
  --set enablePublicServiceAndIngress="${AB_PUBLIC_INGRESS}" \
  --set apiboost.user="${AB_DEFAULT_ADMIN_USERNAME}" \
  --set apiboost.password="${AB_DEFAULT_ADMIN_PASSWORD}" \
  --set apiboost.email="${AB_DEFAULT_ADMIN_EMAIL}" \
  --set apiboost.hashSalt="${AB_BACKEND_HASH_SALT}" \
  --set apiboost.apiToken="${AB_UI_API_TOKEN}" \
  --set apiboost.redisPassword="${AB_REDIS_PASSWORD}" \
  --set apiboost.apigeeCredentialKey="${AB_CREDENTIAL_KEY}" \
  --set apiboost.persistence.storageClass="${AB_BACKEND_STORAGE_CLASS}" \
  --set apiboost.persistence.size="${AB_BACKEND_STORAGE_SIZE}" \
  --set db.rootPassword="${AB_DB_ROOT_PASSWORD}" \
  --set db.apiboostUser="${AB_DB_APPLICATION_USER}" \
  --set db.apiboostPassword="${AB_DB_APPLICATION_PASSWORD}" \
  --set db.persistence.storageClass="${AB_DB_STORAGE_CLASS}" \
  --set db.persistence.size="${AB_DB_STORAGE_SIZE}" \
  --set ui.url="${AB_BACKEND_DOMAIN}" \
  --set backend.url="${AB_FRONTEND_DOMAIN}" \
  --set ui.tls.base64EncodedPrivateKey="${AB_UI_TLS_CERTIFICATE_KEY}" \
  --set ui.tls.base64EncodedCertificate="${AB_UI_TLS_CERTIFICATE_CRT}" \
  --set backend.tls.base64EncodedPrivateKey="${AB_BACKEND_TLS_CERTIFICATE_KEY}" \
  --set backend.tls.base64EncodedCertificate="${AB_BACKEND_TLS_CERTIFICATE_CRT}" \
  > "${APP_INSTANCE_NAME}_manifest.yaml"
Step 6: Deploy Apiboost to the cluster
The initial provisioning and product installation can take up to 20 minutes after the following command is run.
Deploy Apiboost to your environment using the following command:
kubectl apply -f "${APP_INSTANCE_NAME}_manifest.yaml" --namespace "${NAMESPACE}"Troubleshooting
Error message: “ memcache.go:287] couldn't get resource list for metrics.k8s.io/v1beta1: the server is currently unable to handle the request”
This error can be ignored. It has no impact on the application deployment.