
Overview
Apiboost supports the integration of multiple SSO providers. This is especially beneficial to organizations who use SSO for all users, but have a separate identity provider for internal/staff members with administrative access.
Configuring SSO
The specifics for configuration can vary based on identity provider. Okta will be used for this example, feel free to use any SAML provider though. The configurations should be the same or similar. Perhaps in the future, more providers like Auth0, Entra ID, PingIdentity or onelogin will specifically be documented here.
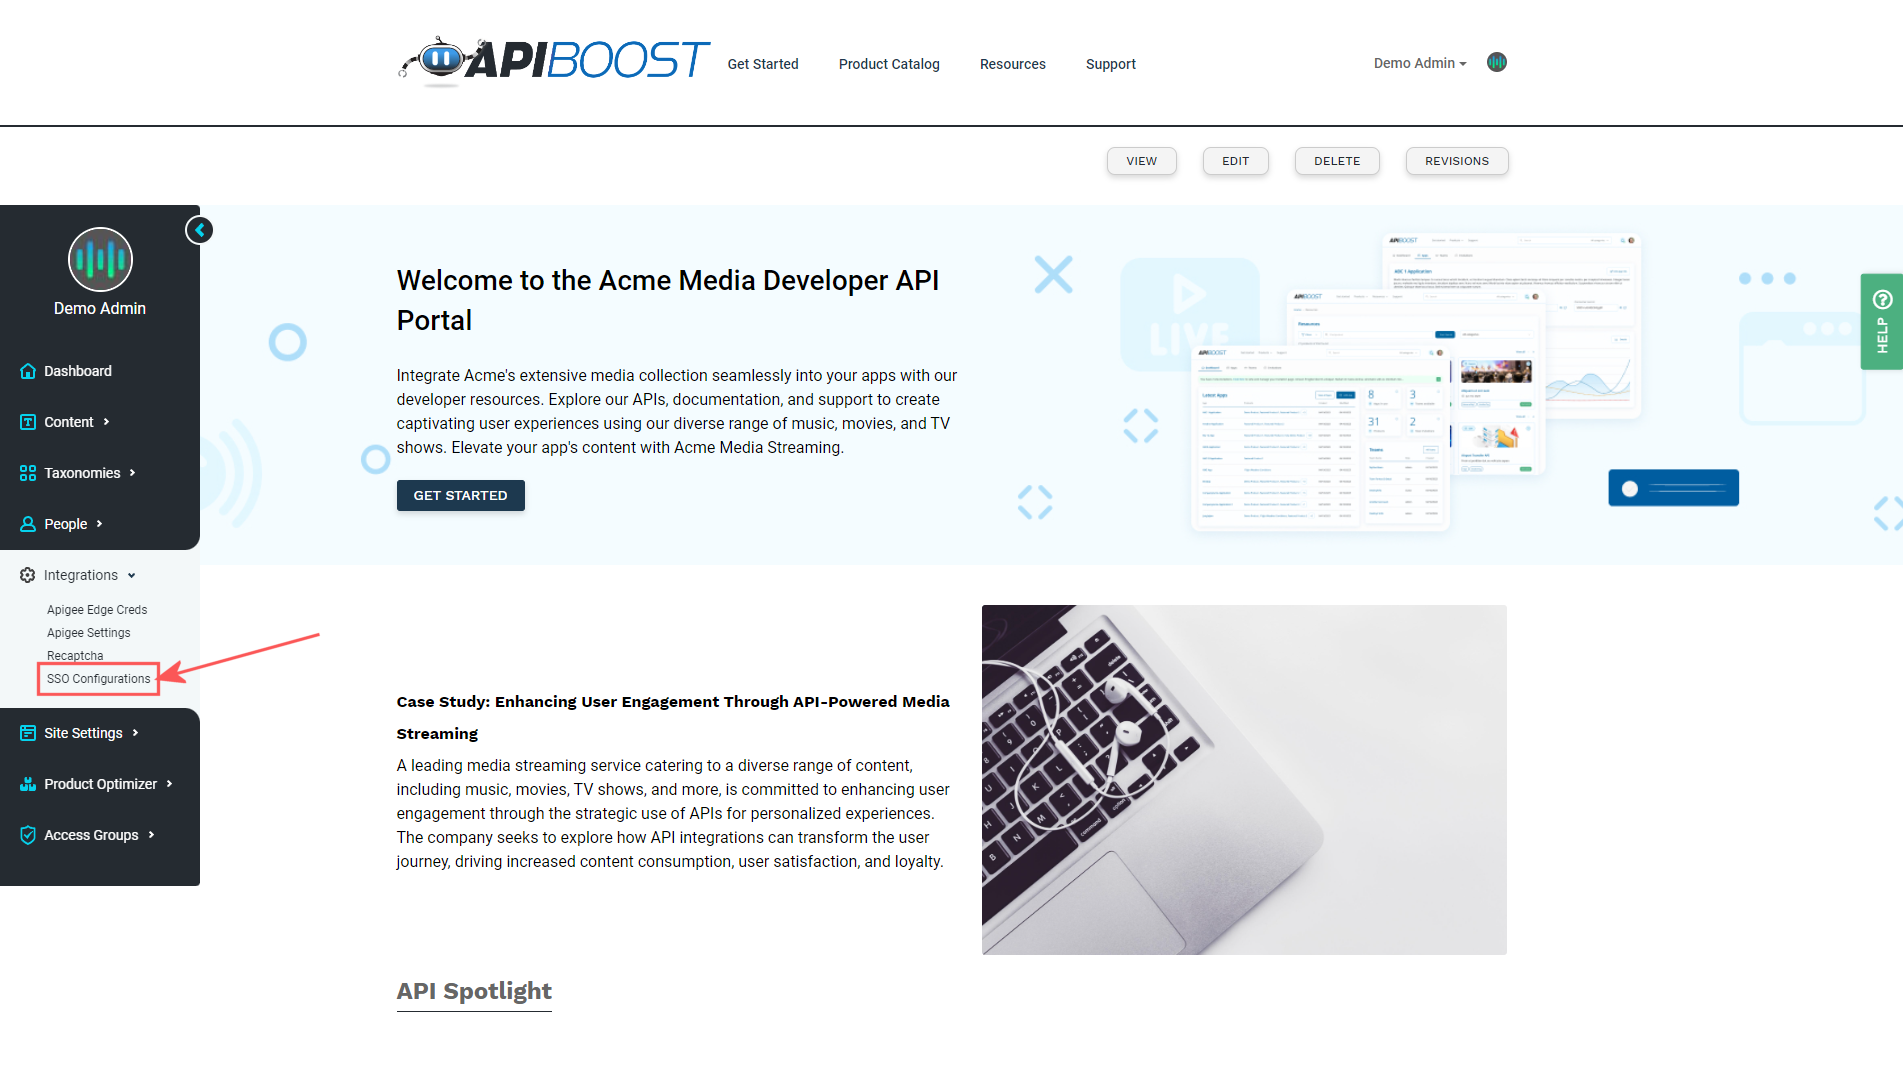
Begin by going to SSO Configurations under Integrations in the admin menu:
The following page will likely be blank, so click on the Add SSO Configuration button to create a new one.
Time to start adding some basic info about the SSO integration:
Provider name is only used to identify the integration. It can be as simple or descriptive as possible depending on use case. A best practice is to make sure it’s easily identifiable by another member of the organization.
If the provider is for internal use only, then consider ticking the Is Private Provider box. This will hide the SSO button from the portal login page, so that it can only be used by internal users who already know the login route.
SSO Provider Status enables or disables the button from appearing on the login screen.
On the right side of the screen are display settings for the login button. Buttons can either use a Font Awesome icon, or an image:
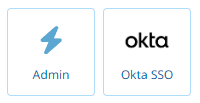
For this example, the Okta logo is being used with the display text “Okta SSO.”
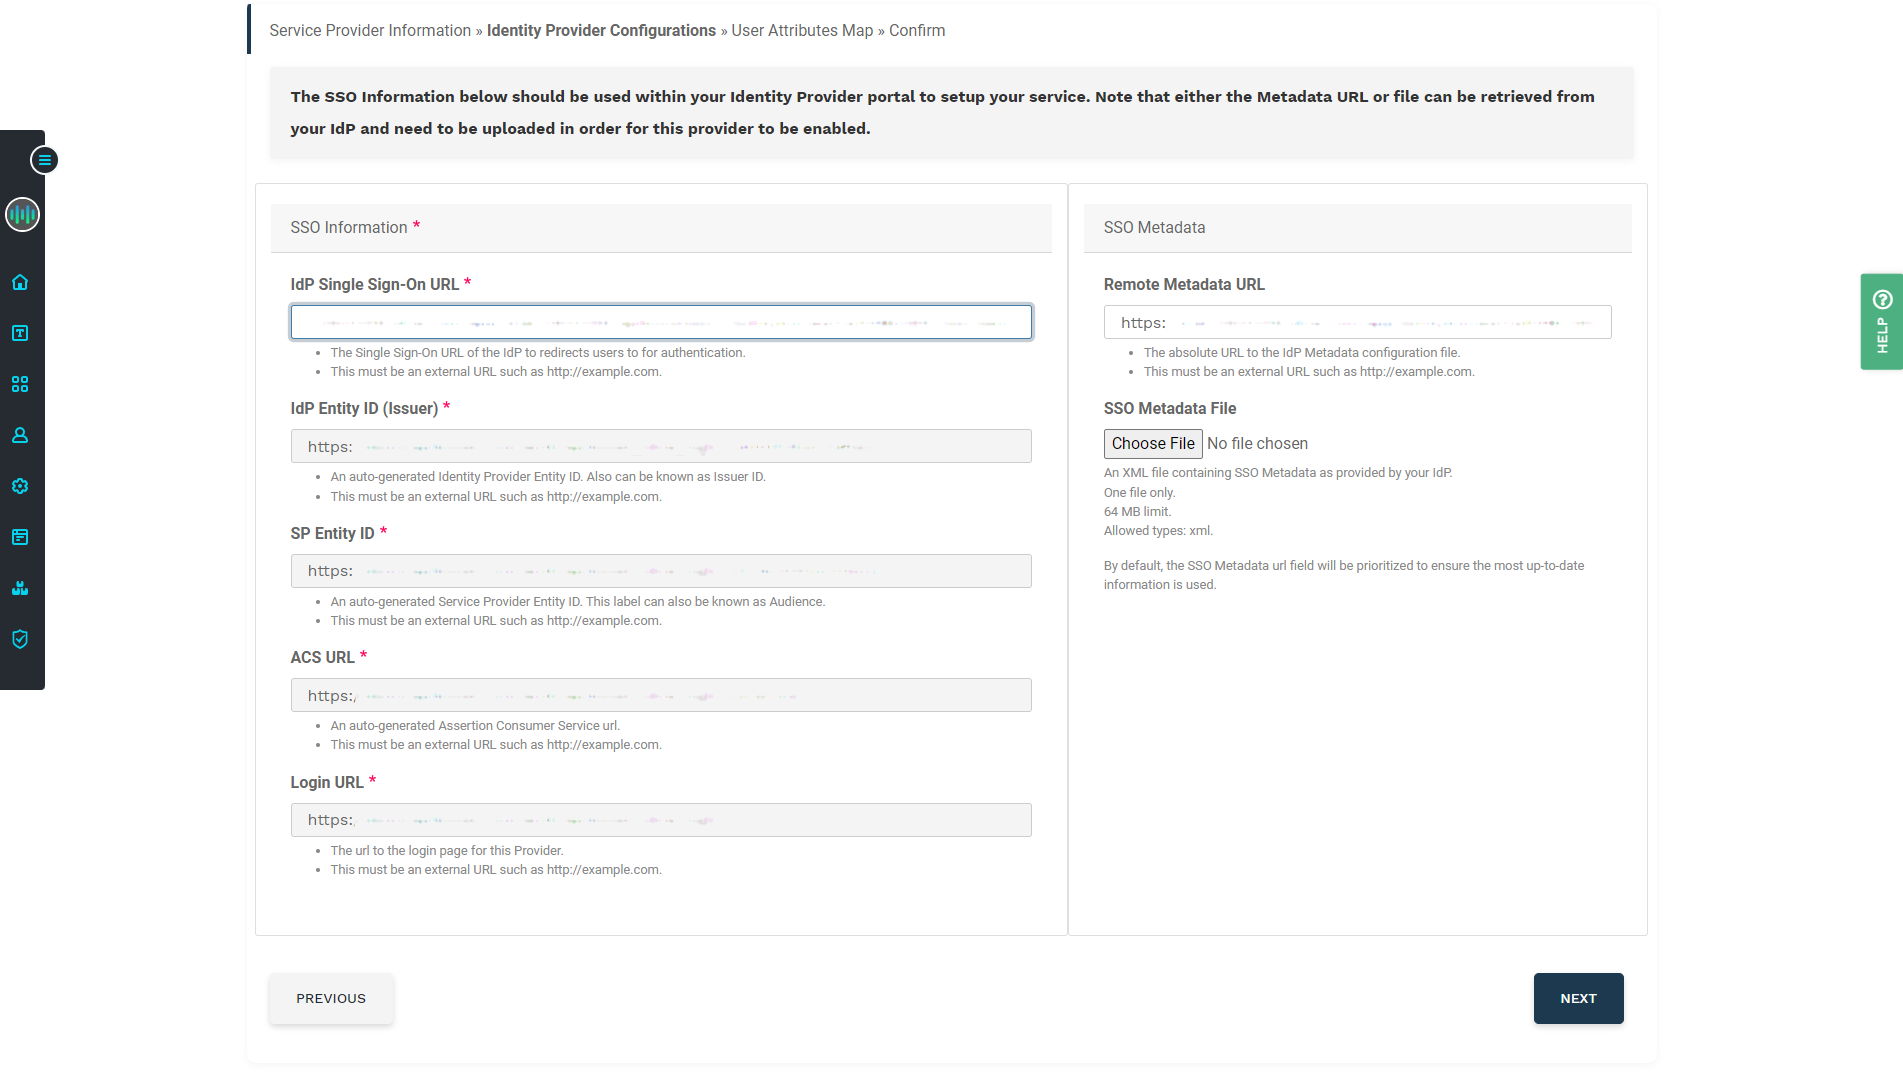
Once display settings are added, click the Next button at the bottom left to configure the identity provider (IdP). On the next page, IdP Entity ID, SP Entity ID, ACS URL and Login URL should be prepopulated fields.
Head over to Okta (or whichever IdP is being used) and create a new SAML integration.
This guide will specifically cover Okta settings, but all IdPs should be relatively the same. Contact your administrator for more info.
Configuring the Identity Provider
Below are our some example guides for configuring supported SAML Identity Providers. This is not an exhaustive list and any type of SAML IdP is supported.


Finalizing SSO Configurations
-
Now that you’ve setup your Identity Provider by following one the tutorials above, you’ll need the following values:
-
IdP Single Sign-On URL
-
ACS URL
-
Link to Remote Metadata file or a download copied.
-
-
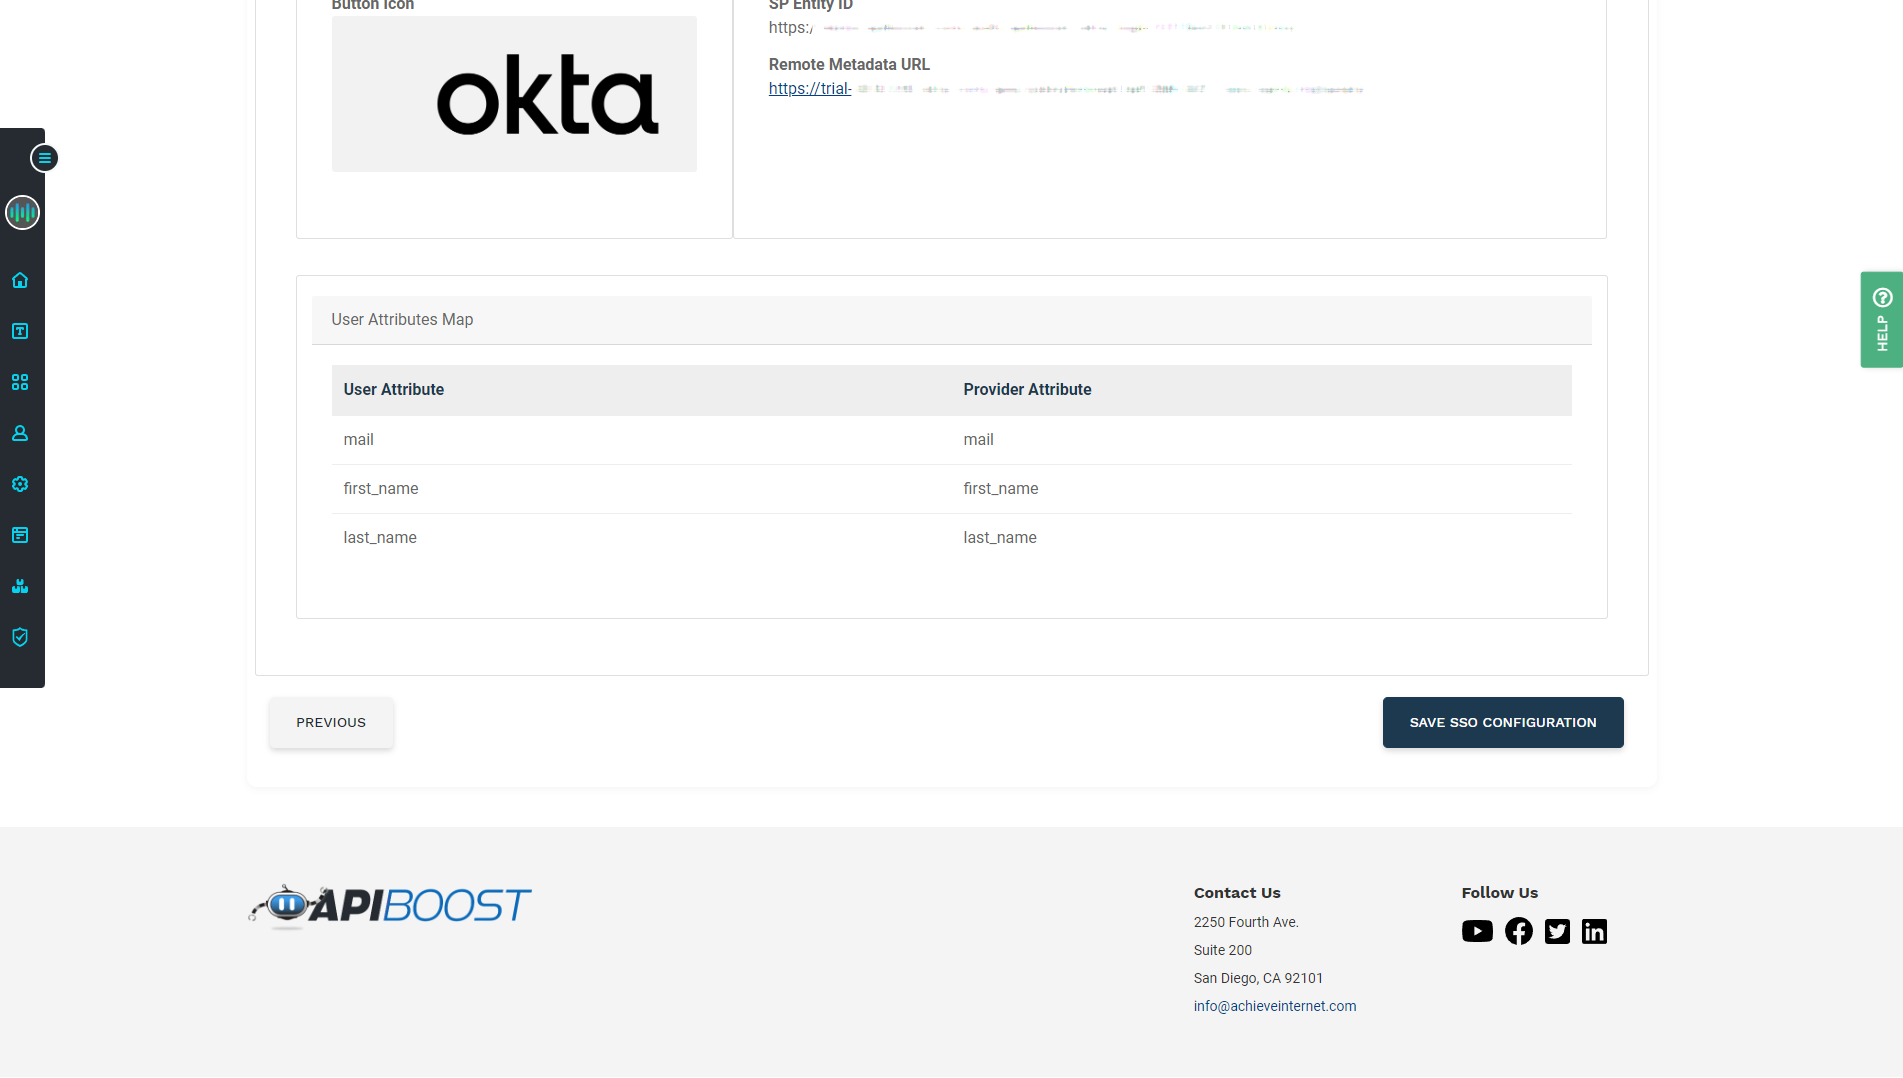
Enter the values into the form below:
For the purpose of this exercise, skip User Attributes Map and click next.
Finally, review the settings, scroll down and click Save SSO Configuration.
Logging In
Before proceeding, make sure the App is assigned to at least one user in Okta. For more info on assigning Apps to users, check out: https://help.okta.com/en-us/content/topics/users-groups-profiles/usgp-assign-apps.htm
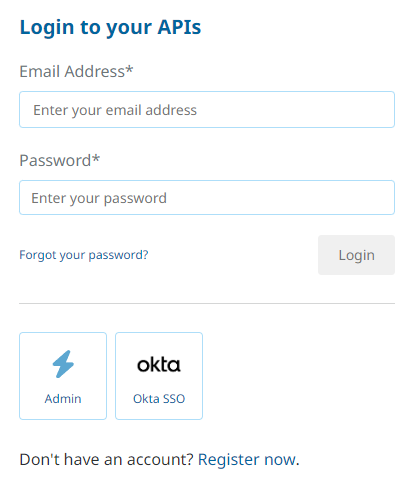
Go to the portal frontend login page. Any enabled, configured SSO integrations should be visible, along with any other login options that may be enabled:
Try logging in using the newly created configuration. For Okta users who receive a “User is not assigned to this application” error, check their documentation on assigning Apps and try again.
Once sign in is working, the SSO integration can now be further customized to best meet the needs of the organization and its users.
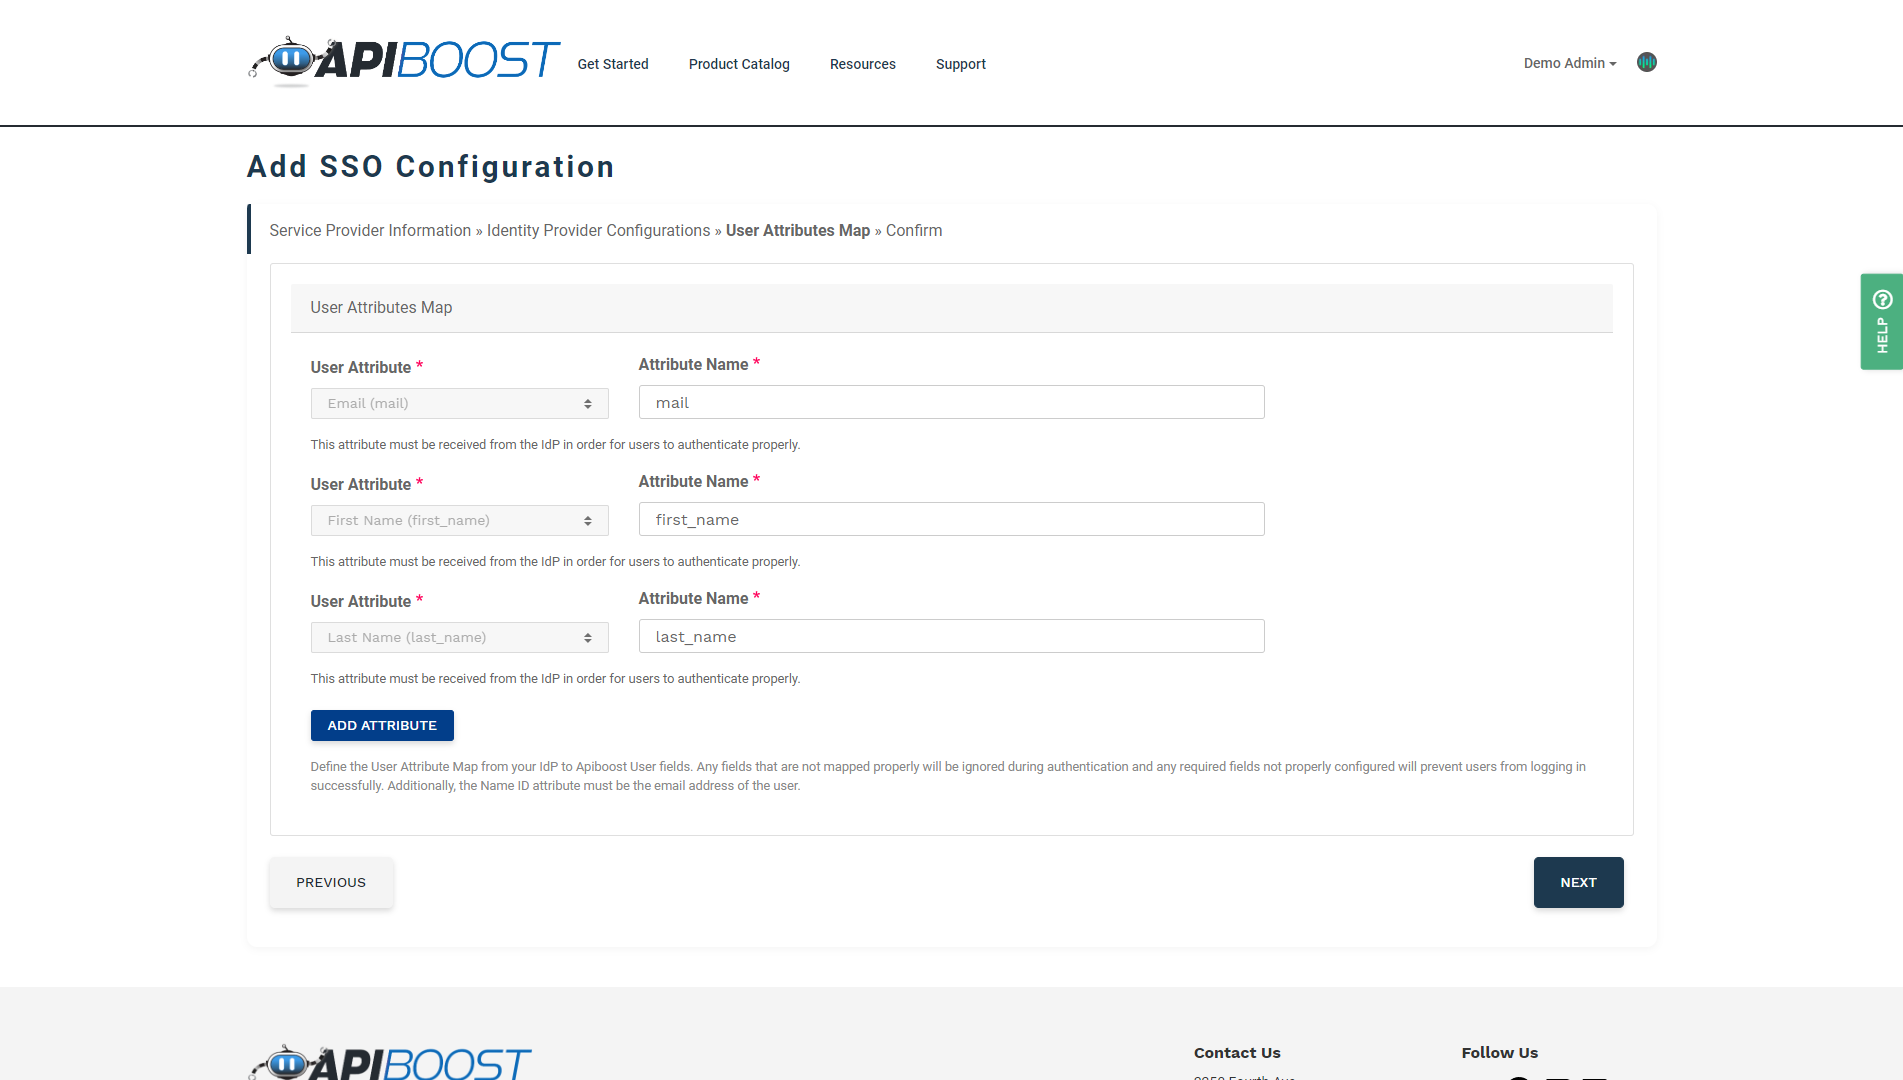
User & Group Attribute Mapping (Optional)
There are use cases where organizations use SSO profiles to classify internal and external users, or assign roles to users by adding them to groups. These mappings can be set when the integration is being configured for the first time, or after by editing the saved configuration from the SSO Configs page. The following is an example of some user mappings in Apiboost:
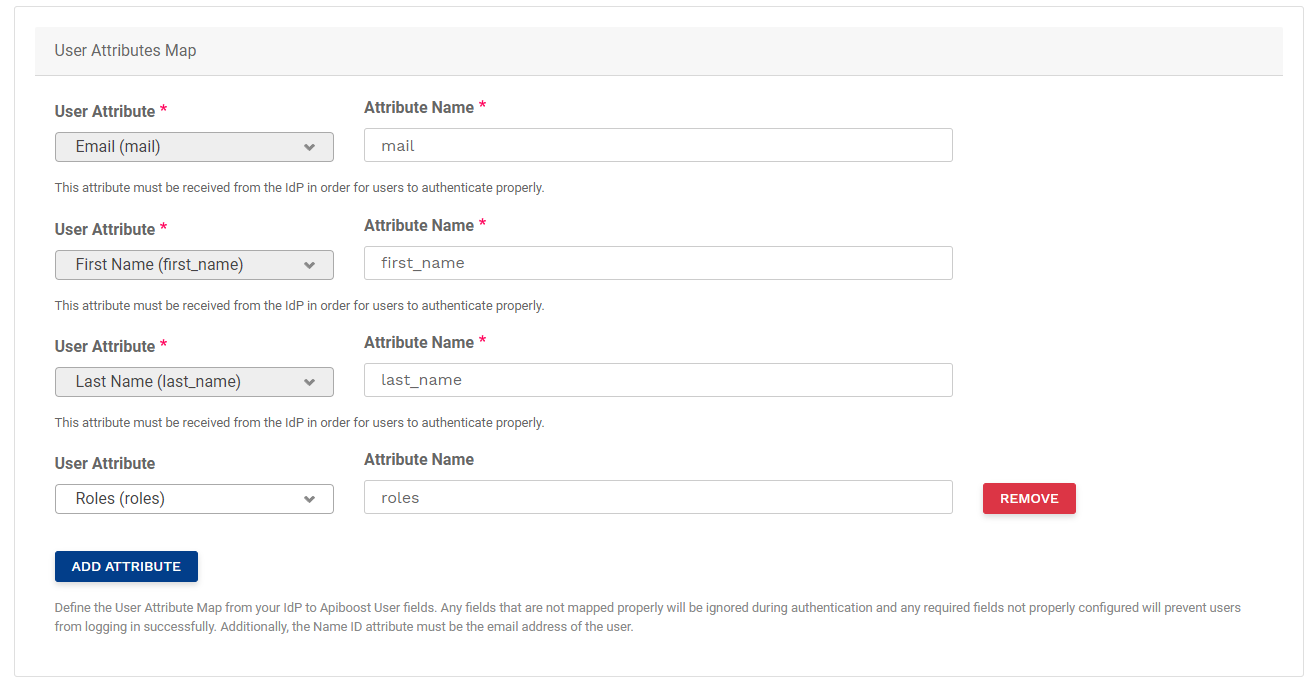
The first three mappings are required:
-
Email
-
First Name
-
Last Name
As they are required for account creation. Another attribute like roles can be added (and in the screenshot, is). All attribute names are user-defined. Roles can just be “roles” or “user_role” for example.
To assign these attributes, head over to the IdP and configure them. Using Okta as an example:
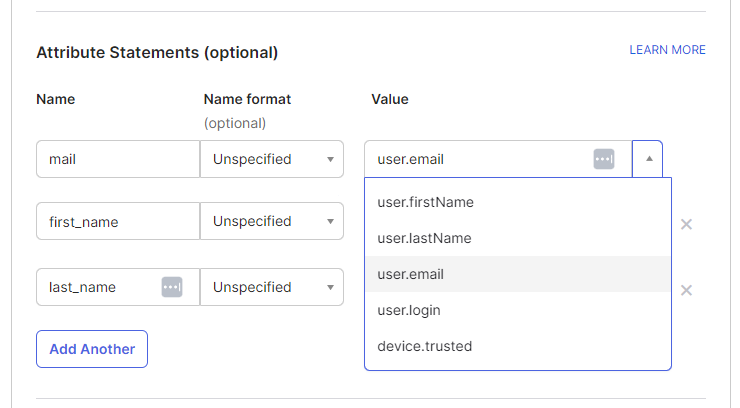
The names in Okta are the attribute names in Apiboost and the values could be Okta defaults. A more advanced case is setting backend roles, which the value would not be a default value. In Okta, a custom attribute field would be required, with assigned values to it:

The values for roles should be the Apiboost internal names. For more info on internal names, refer to the RBAC table.
We’re here to help! Contact us to learn more about other IdP setups, advanced attribute mapping and for help troubleshooting SSO Integrations