
Access Groups: Getting Started
This tutorial walks you through creating your first Apiboost Access Group, restricting an API Product to it, and verifying that access works correctly. By the end, you'll have a working access-controlled product that only designated developers can see.
-
Administrator or Admin site role
-
At least one API Product already imported into Apiboost
-
At least one developer account registered on the portal (separate from your admin account)
What You'll Set Up
You'll create an Access Group, assign an API Product to it, add a developer, and then verify that the developer can see the product while other users cannot.
Step 1: Create an Access Group
-
Navigate to Products → Access Groups
-
Click Create Access Group(s)
-
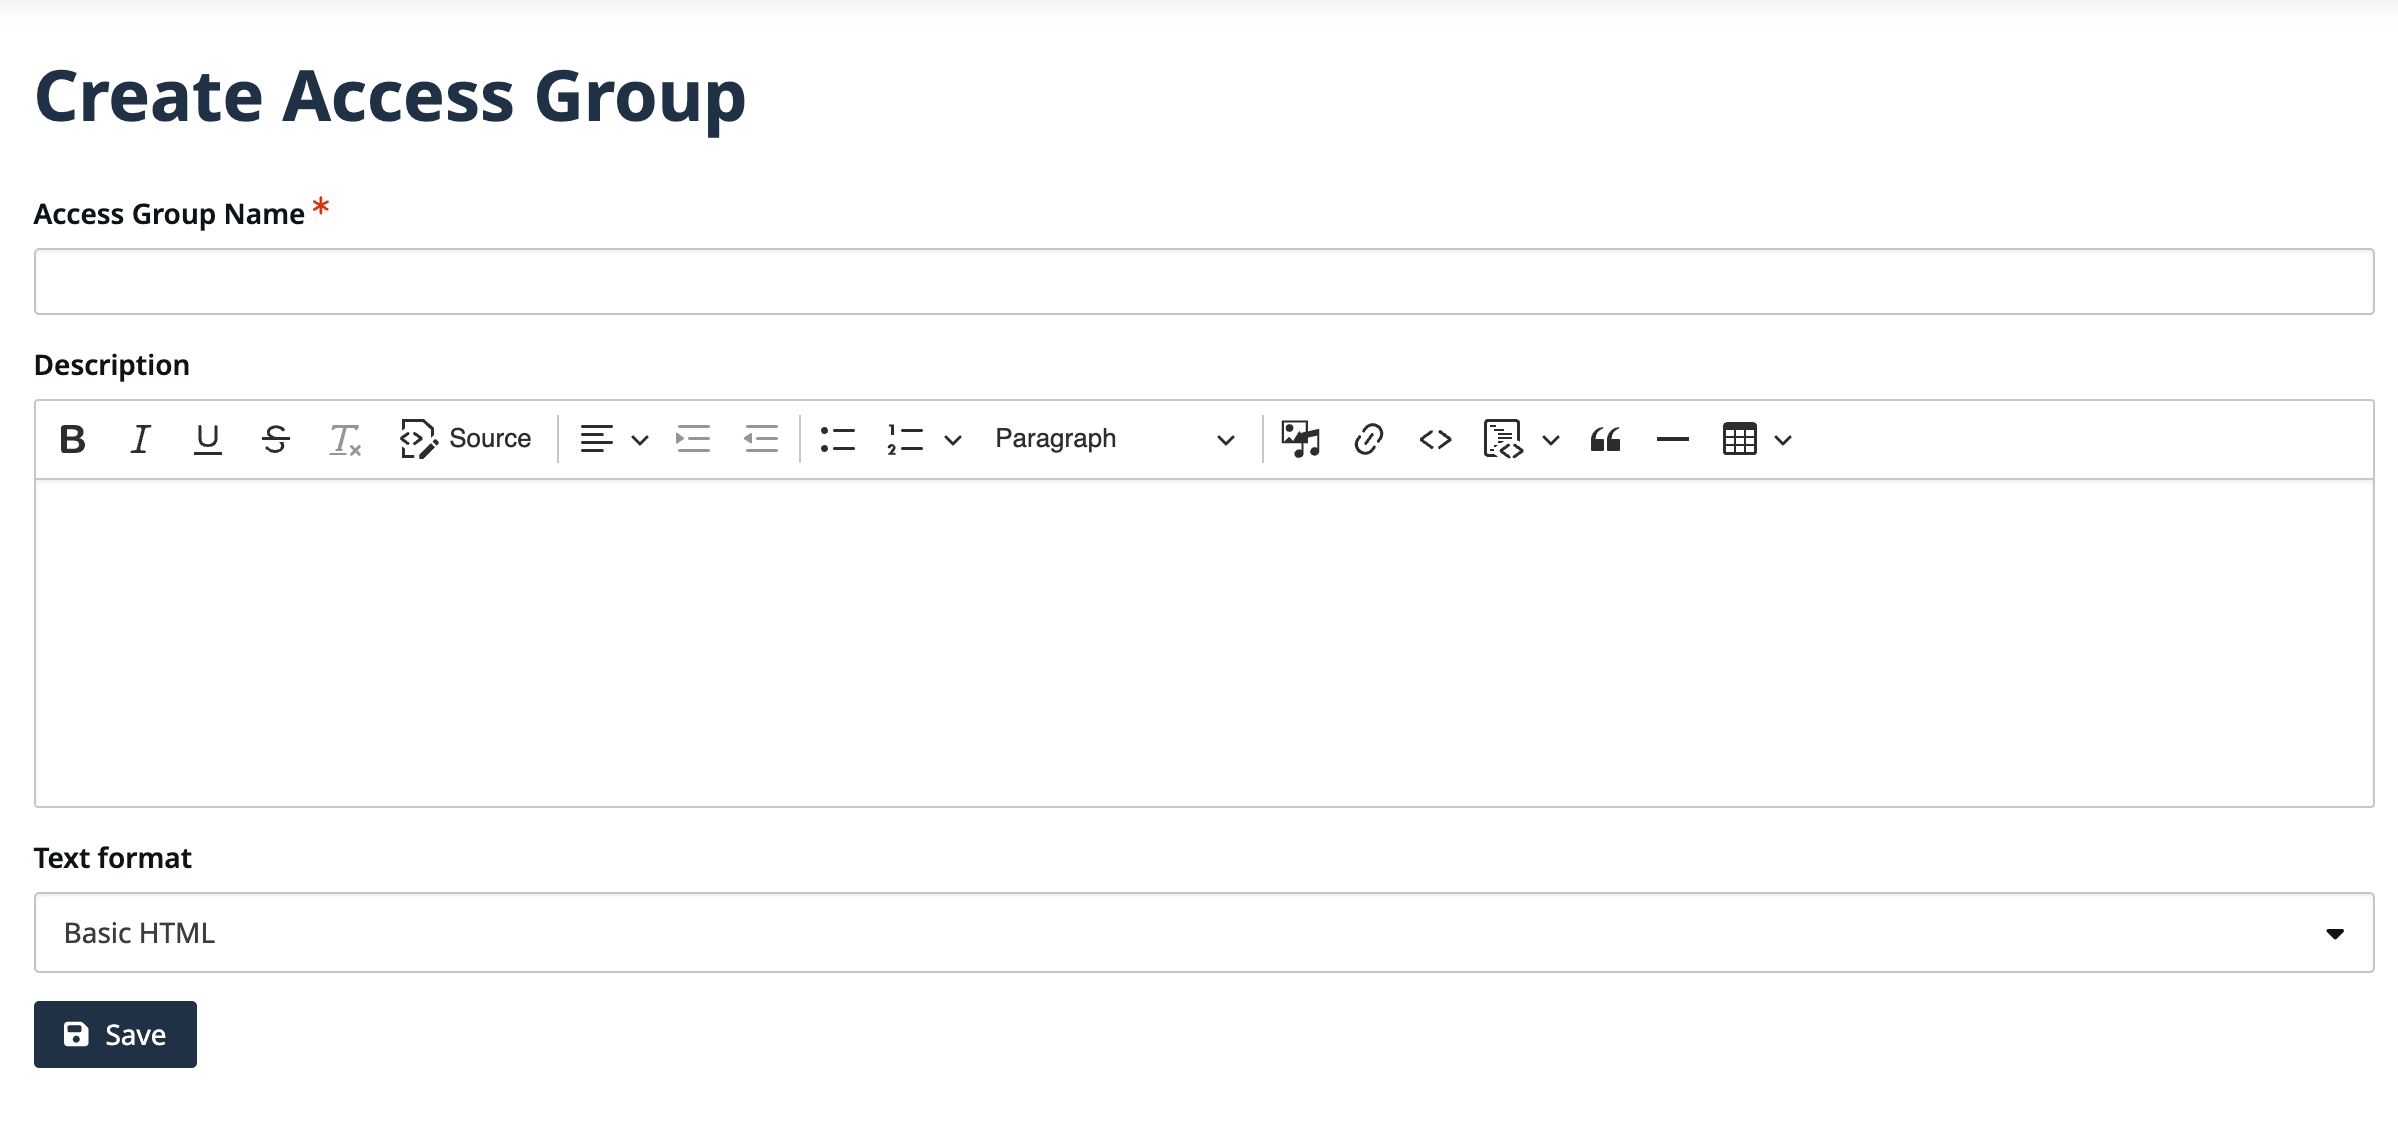
Fill in the group details:
-
Access Group Name: Enter a descriptive name for your group (e.g., "Partner APIs")
-
Description: Optionally describe the purpose of this group
-
-
Click Save
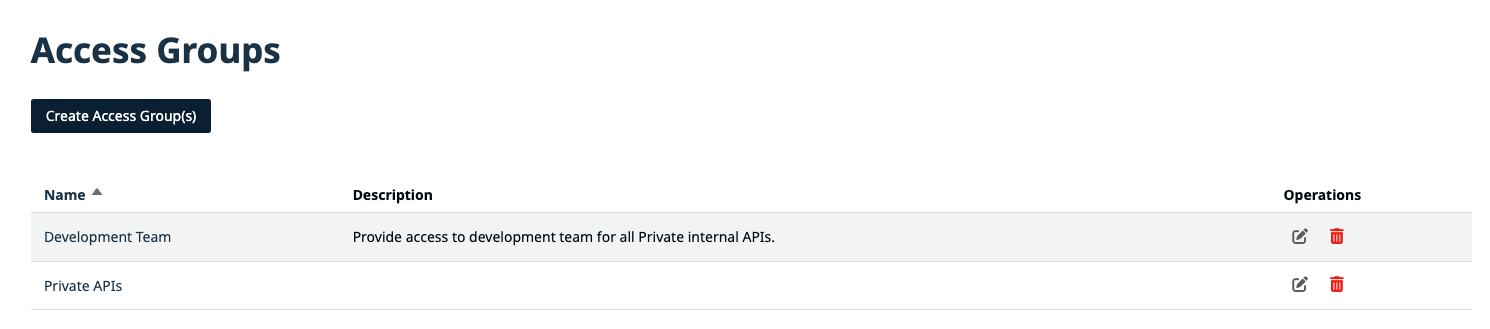
You'll be redirected to the Access Groups listing page where your new group appears in the table.
Step 2: Set Your Product to Private
Before adding the product to your Access Group, ensure its visibility is set to Private. This ensures only Access Group members can see it.
-
Navigate to the API Product you want to restrict
-
Edit the product and locate the Visibility field
-
Set the visibility to Private
-
Click Save
Changing a product's visibility to Private immediately hides it from all developers who are not in an Access Group that includes this product. Make sure your Access Group is configured before changing visibility on a production product.
Step 3: Add a Product to the Group
-
Return to your Access Group (navigate to Products → Access Groups and click the group name)
-
You should be on the Products tab by default
-
Click Manage Products
-
On the Add Products page, find your product in the list on the left and click the + button to add it
-
The product moves to the Products Included In This Access Group panel on the right
-
Click Save
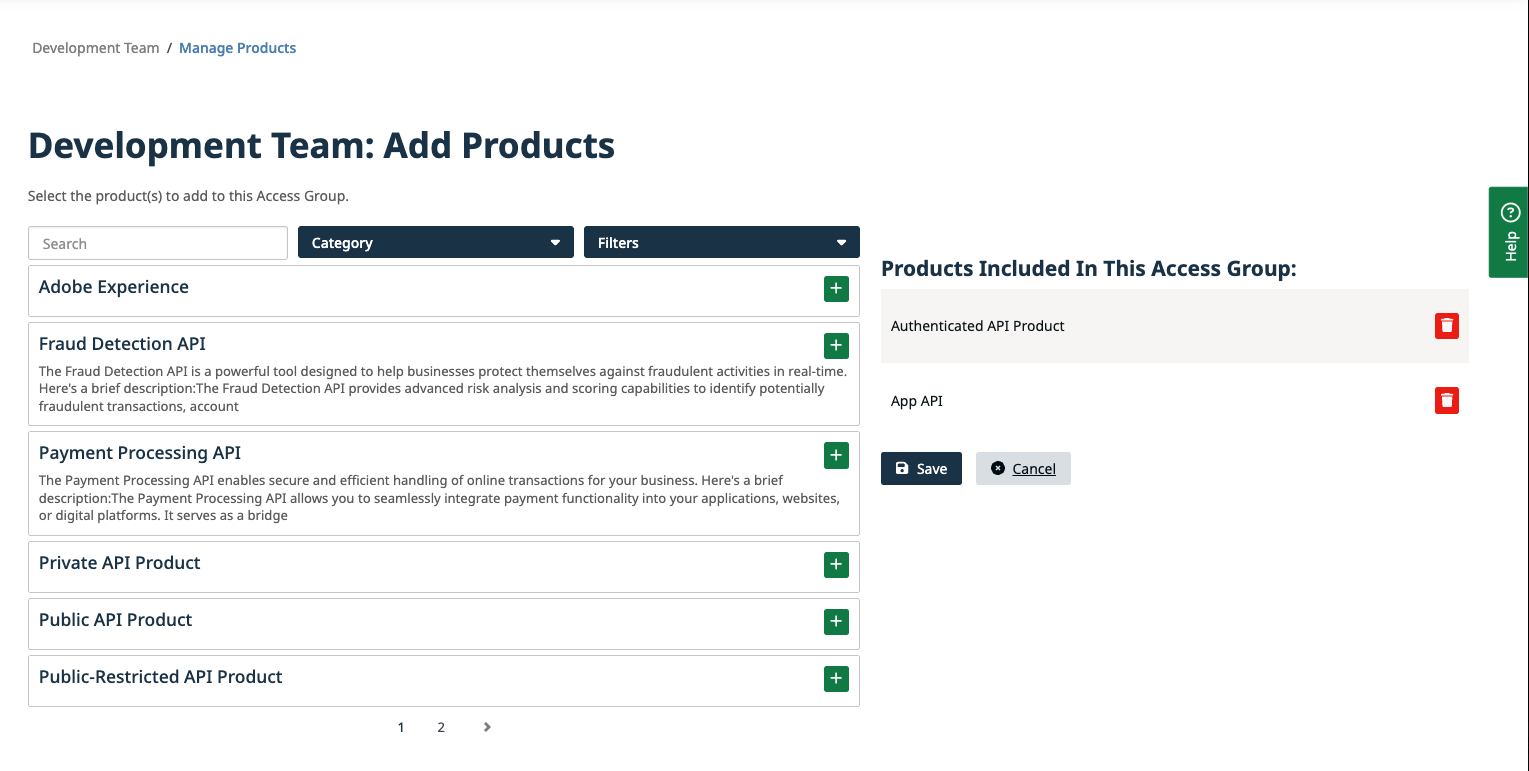
The product now appears in the group's product list.
Step 4: Add a Developer
-
Click the Developers tab on your Access Group
-
Click Add Developer
-
In the Developer field, begin typing the developer's username and select them from the autocomplete list
-
Click Save
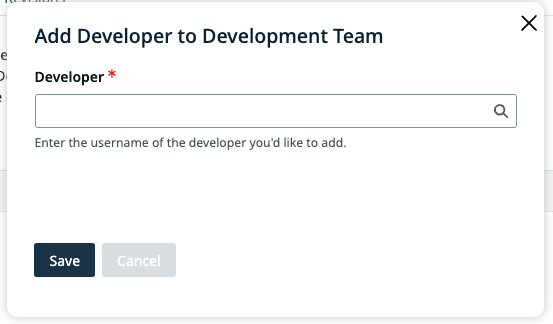
The developer is now a member of the Access Group and has access to all products in the group.
Step 5: Verify Access
To confirm everything is working:
As the developer you just added:
-
Log in with the developer account
-
Navigate to the Product Catalog
-
Verify that the private product appears in the catalog
As a different developer (not in the group):
-
Log in with a developer account that was NOT added to the group
-
Navigate to the Product Catalog
-
Verify that the private product does NOT appear
If the product is visible to both developers, double-check that the product's visibility is set to Private and that it's only associated with your Access Group.
What You've Accomplished
You've set up a complete access control flow:
-
Created an Access Group to organize access
-
Restricted an API Product by setting its visibility to Private
-
Added the product to the group so it's accessible to group members
-
Added a developer to the group
-
Verified that only group members can see the product
-
Add a Team instead of individual developers — see How to Manage Access Groups
-
Understand visibility options — see Understanding Access Groups for the full visibility model
-
Learn about Teams — see Apiboost Teams for team management and configuration